Showing posts with label Prima. Show all posts

Saturday, 7 April 2018

Now she is 18!

Hi There,

 I have been creating with the dazzling new Amelia Rose Collection from Prima. Once again they have released another stunning range of papers and co-ordinating goodies. There are beautiful vintage papers, floral mixes and the luxurious swathes and detailing of foiled copper and rose gold accent.....truly gorgeous!

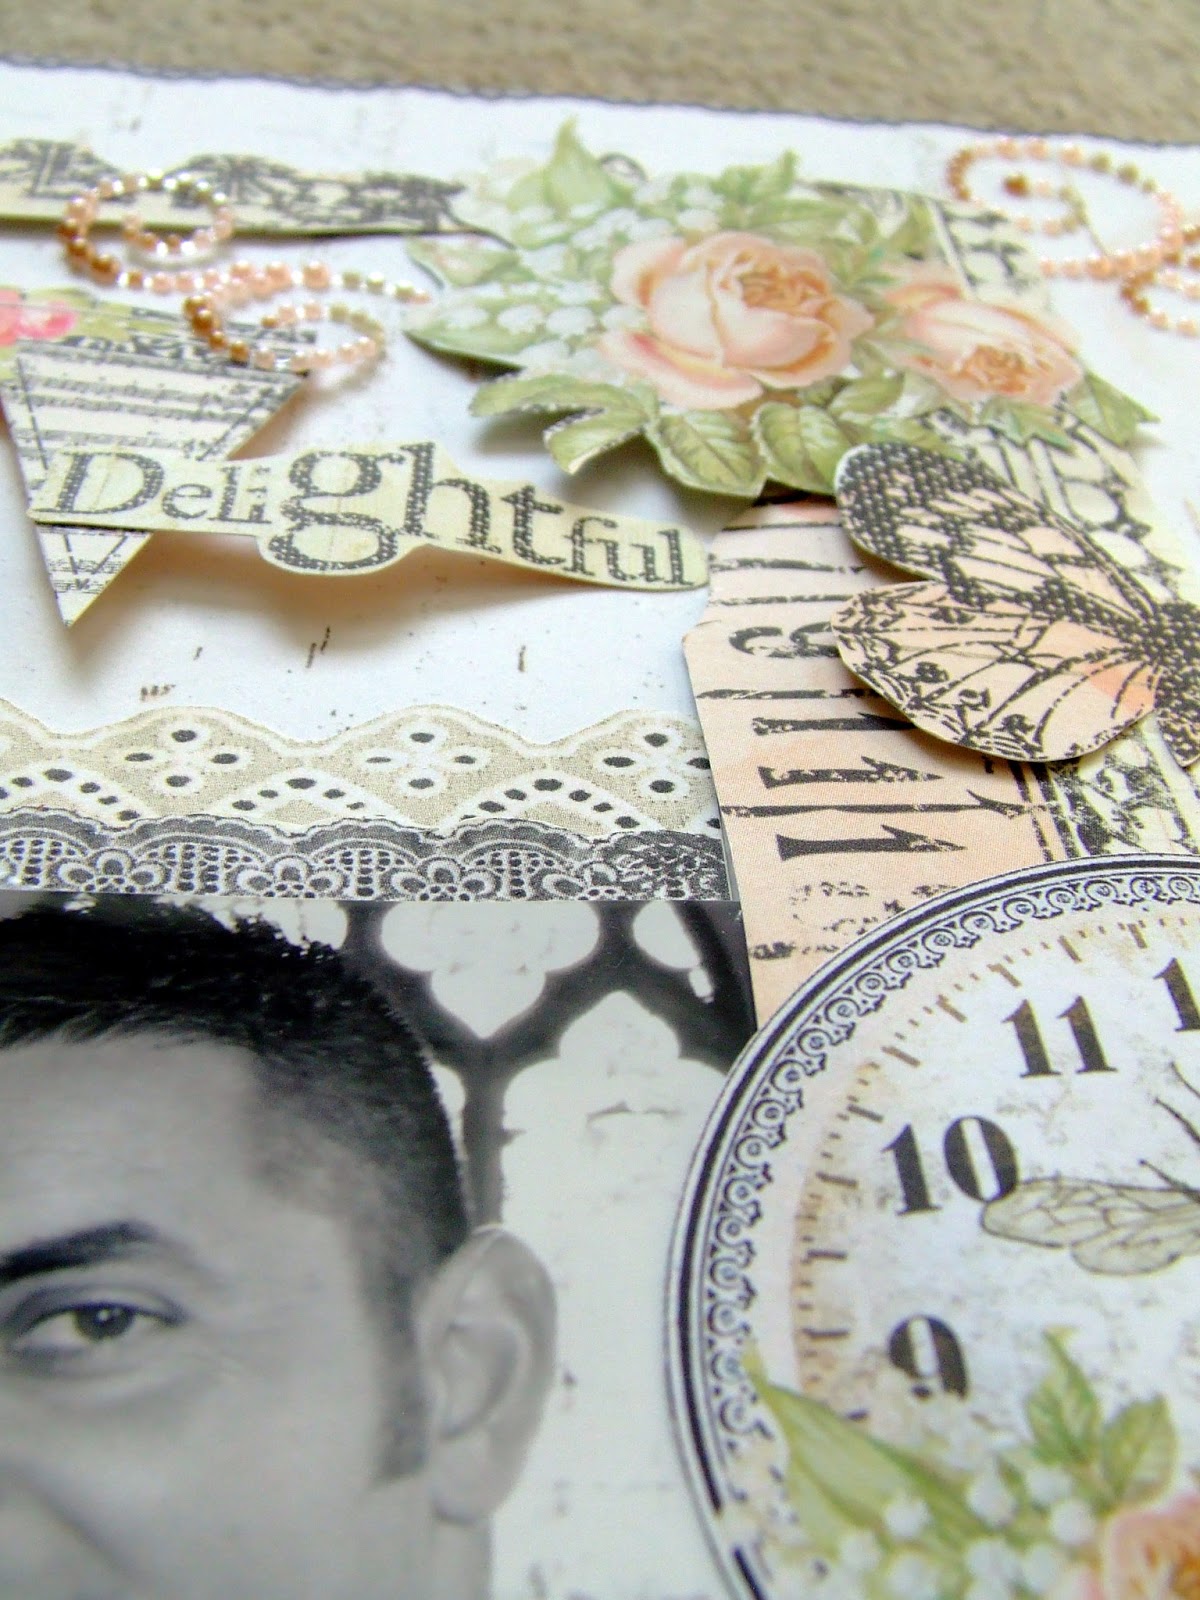
Our youngest daughter has just turned 18 in the last couple of weeks and some of her balloon banners were a coppery rose gold in colour and I thought these papers would be great for popping her onto!


I de-saturated most of the photo back to black and white, leaving only the copper and browns still showing before printing it out. The Lovely Scribbles sheet is gorgeous and heavily foiled, so I chose to just use part of this and placed it as a backing to create a thin frame around the page ( I gutted the centre out first to save for another page)
I took the sheet of Texture Lover, cut it down slightly and used a Black Soot Distress Stain to just swipe around the edges....and also added a few splats here and there. The page is already beautifully detailed with some vintagey paint effects, distressing and some lovely foiled scriptwork.
In my DT kit along with the gorgeous papers and cardstock I also had some lovely antique looking book plates. I used one of these and popped in the number 18, taken from my own stash of alphabets.


I also took a sheet of Dark Florals and Ticket Collector (both foiled) and cut out various sections of flowers, scrolls, foliage and tickets, these were then scattered around the photo to create a semi frame (some were raised on foam pads for dimesion) and I also slipped a small black doily slightly behind the photo too.


Using some Stickles in Rose I gently highlighted some of the black ink splats to co-ordinate with the pink blossoms in the paper sheet and also added more letters to say Chloe from the same pack as the number 18.


Some black blossoms were also in my kit and I glammed these up with some Copper Stickles.


In various places around the outer edge of the layout I tore little sections and turned them back slightly, leaving a tiny blossom on the edges.


I finished off the page with sprinklings of copper and rose gold sequins in various shapes and sizes and also a cherub button, which I removed the shank from the back.


If you pop over to the shop you will find lots and lots of wonderful goodies....including the latest new 5 releases from Prima
Amelia Rose
Lavendar
Cherry Blossom
Love Story
Vintage Floral

Right, thats it from me for now ....I will be back later in the month again with another project with Amelia Rose

Happy Scrapping
Anita xx

Monday, 8 January 2018

Prima Zella Teal......... oh its yummy!!

Hello There, I have been over on the Papermaze blog with my first post of 2018 and I would like to wish you a very Happy New Year!

I am chuffed to bits to have been able to work with this stunning new collection from Prima, Zella Teal. Its a gorgeous colour palette of beautiful blues and aqua's...... a sprinkling of  browns and some truly gorgeous holographic features that are dazzling when they capture the light.


The papers are all double sided......and that is where the problem lies.....both sides ARE GORGEOUS!!   Which to choose???  Buy 2 of each sheet....problem solved ;)

I decided to use a photo from 2010....a family holiday in Buckinghamshire. We visited Windsor for the day and after a lovely walk around we went on a boat trip down the Thames. This photo is one of my eldest daughter's favourites and I felt the Zella Teal papers were just right for it.


I based the page on a sheet of Live Loudly, which has a beautiful spray of flowers in 2 opposite corners.


I cut a couple of posies from a sheet of Zella Teal, including the gorgeous holographic leaves and accents . They really glow when they catch the light. I raised these up on foam pads to create dimension


I normally square cut the photo mats, but I wanted a softer edge this time so I tore the cardstock mat, leaving a feathery edge. I also used a couple of different Cosmic Shimmer Mists on the page, squirting large drops, creating a pool of ink and then blowing it out in different directions.


I also used a small 6 x 6 inch stencil I had in my stash ( not sure of make or design) and spread some Sparkle Medium through it. This stays raised when it is dry and adds some texture and dimension to the page.


I finished off my page by adding a few random half pearls and gems here and there across the layout and adding some paper blossoms and also some butterflies that I had printed off the internet onto cardstock.


I think this collection will be high on my list of favourites.....I will definately be needing some more!!

Warmest wishes
Anita xx
Wednesday, 21 September 2016

Oh Baby! ........Prima 'Heaven Sent'

Hello There,
Anita here today with my final post for September using the adorable Prima Heaven Sent collection.
If you haven't already seen this collection then I can highly recommend it with its delicate pastel shades, vintage playful bunny, teddies and lambs and stunning soft rose gold foiling. I worked originally with it creating a gift basket and card for a new baby HERE
And now I have used it for a layout to showcase that beautiful new arrival.


I based the layout on a sheet of Welcome Baby  which I handcut wavy edges randomly around the entire edge of the page and gently inked with an old brown inkpad. I then stuck this onto a sheet of Heaven Sent and again gently inked the edges.

Around the edge of the photograph I gently ruffled some organza ribbon to make a soft frame and then placed it onto a frilly doily.


 I had a lovely chipboard butterfly by Scrap FX, which I sprinkled with large flake irridescant glitter and although it was pretty it wasn't quite right, so I sprayed over it with a pearlescant spray which also worked as a seal to stop the glitter from migrating.


I cut various bits and peices from the sheets of Sweet Lullaby and Special Delivery and used around the page and used various blossoms and bling.

I then finished the page by adding lots and lots of sprinklings of crystals to the hot air balloon and more crystals and teeny baby blossoms from the Prima Planner flowers Lola and Lucy around the wavy edge of the page.


This is a truly beautiful range of papers and has been a real delight to work with, hopefully you will decide you would like to try some too.

oh Baby
Warmest wishes
Anita xx

Wednesday, 18 May 2016

Loved Always .........

Hello....... a post I made a few weeks ago has just been up on the Papermaze blog using the lovely papers from Prima, Tales of You and Me range.
I have been wanting to scrap this photo of my wonderful parents and both of our lovely daughters for a long time. It was taken 4 and half years ago after having a lovely meal out to celebrate our eldest daughters 17th Birthday. Sadly we lost my Dad a few short months after this was taken. I am so grateful that being a scrapper means I probably have so many more photos of precious people than I would if I didn't do this wonderful hobby!
This layout, card and tag are all made using 1 whole sheet of paper and cardstock and then just the left overs from my previous layout and mirror which can be found HERE.

I randomly cut a wavy edge around the entire sheet of paper and gently inked it, placed it on the cardstock and also inked the edges of that too. I had a strip of leftover paper and popped that across the centre of the layout and sewed along the top and bottom edge using twine. I used a beautiful chipboard flourish from Dusty Attic, which I covered in Stickles 
I also added various blossoms, a couple of brads and also some Dew Drops sprinkled about.


I used the left over lace to frame the photograph and then decided I loved the colour of the Stickles so much that I would add sparkle to everything that didn't move!!! So the lace has raised dots, the blossoms have liberal splatterings and the bodies of the butterflies are Stickles too!


I was then left with literally just a few little scraps of paper, so not wanting to waste them I made a 6 x 6 card and also a little gift tag.   I couldn't put the Stickles away without using it again now could I??


I have really enjoyed using this range to create with, it's pretty and very versatile. Prima have recently released a few new collections and you can find them here at the shop.
Happy Scrapping....... Anita xx

Sunday, 3 November 2013

Scrapology November Challenge...lifting Michelle Logan

This month over at Scrapology we are lifting the work of the very talented Michelle Logan. I really enjoyed playing along, but I am not a fan of too much *white space* so used patterned paper and also added extras to it here and there to fill in the blanks lol. The photo is of our youngest, taken when she was aged 6 on a visit to the beautiful Michelham Priory down here in East Sussex.


The technique/challenge is to use Chipboard this month, along the the supllied sketch, so please feel free to pop over to Scrapology, where you can also see the fabulous work of my fellow teamies on the DT!....there is also, as always, a super prize up for grabs. So pull out your stash and get creating :). We look forward to seeing what you design xxx

Monday, 1 July 2013

M is for Mixed Media over at Scrapology

We are scraplifting our very own design team member LINDA this month by creating a page using many different mediums together on one layout.
 I REALLY enjoyed playing with this page and adding all the various layers of paint, mists, webbing spray etc

 We started off with a 12 x 12" peice of greyboard, which was painted with Gesso.


 I then used a harlequin mask and some Sparkle Medium in Turquoise ( thanks Linda)......
and then just went wild with Cosmic Shimmer Sprays, some sprayed, some dribbled....silver webbing spray, large chuck glitter flakes, sequins, crystals, blossoms, buttons and headed pins. I also added some denim and organza scraps.....gosh I DID enjoy all the mess and sparkle.....and discovered in the process of creating this peice....that a little really DOES go a long way.....a LONG LONG way....but it doesn;t matter does it....because everyone likes a bit of sparkle in their lives ;)


The photo is of my 2 gorgeous girls, taken in the springtime in 2011, at Abbots Wood, when we were out on a walk looking at the Bluebells.


  If you pop over to Scrapology you can see all the beautiful designs that the DT came up with, they truly are stunning.....and each so very different! We would LOVE to see you enter this months challenge....you have plenty of time to join in the fun and get messy/sparkly/inky/shimmery :D. Warmest wishes ANita xx

Thursday, 13 June 2013

You Make Me Smile.....


 This is the 2nd layout I made for the DT at Scrapology for this months challenge....F is for Framed.
I have used gorgeous papers from Prima and the word strips from Simple Stories, plus some printed out butterflies from Swirlydoos.
I used some bright gold acrylic paint and dry swiped edges and added lots of different  colours of Stickles and scattered flat backed crystals around the page to finish it off.
The photo is one I really love of Chloe, that I took in a play area at a local P.Y.O farm. Its gorgeous in full colours as its full of denim, daisies and worn blue paint on the tractor, but I printed it in sepia tone for this lyout.


There is still time to enter the challenge over at Scrapology, so why no pop over and check out the other DT work from my lovely and talented team mates.....I am sure you will find lots of inspiration and hopefully you will create a gorgeous page yourself and join in.

Warmest wishes
Anita xx

Saturday, 1 June 2013

F is for Framed....over at Scrapology!

Maria Featon was the super scrapper that we were lucky enough to scraplift this month over at Scrapology
The challenge was based on F is for Framed and this is the first of 2 layouts that I have created for the DT this month.
I used papers from the Prima 'Lyric' range, along with some of the co-ordinating crystal swirls and some irridescent lace.


The photo was taken at our youngest Nephew and God Son's Christening....such a cutie!


I raised the frame and various elements on foam pads to give some dimension to my layout.


Here is Maria's original, gorgeous layout that inspired us.

And here is the sketch that we worked from.


So, why not pop over to Scrapology and see what the rest of the DT have created....there are some beautiful layouts there.
And then wee would love to see you join in with the challenge, you have until the 5th of July to enter and there is a super kit that has been put up for the prize.

Warmest Wishes.....Anita xx

Friday, 1 March 2013

P is for Peeking Elements....March Challenge at Scrapology.

Spring is just around the corner and that can only mean one thing....we have just rolled into March!!! It doesn't seem 5 minutes ago that it was Christmas does it? So, over at Scrapology this month we have had the lovely pleasure of lifting a gorgeous layout by our very own Lovely Lynn
Her technique was to have elements peeking out from behind somewhere on the layout and also to follow the sketch provided of her original, lovely layout.
I made 2 layouts for this month( both using the same photo infact!!) and this is my first ( and favourite) one.
 

I broke out some old Basic Grey paper....from the Curio range I believe. I backed the photo onto a torn piece of pizza box and swiped it with some Texture Paste and then added some flowers cut from a sheet of Curio....a little ripping, scrunching, tearing  here and there and tucking in some bits and bobs and that was about it really :)


I added a pearly swirl which I cut into pieces to make it stretch further ;)


Lynn's beautiful original page that we lifted and the sketch we would like you to work from.
If you pop over to the Scrapology blog you can see the beautiful pages created for you by the DT and who knows, hopefully it will inspire you to join in the challenge.

So....that's a cool sketch to use...and have fun with creating some peeking elements....and you have right the way round til April 5th to enter. the weekend is right upon us so why not make the most of your time and have a play with your lush paper stash over the weekend...if your layout wins there is a fab prize up for grabs!

Warmest wishes Anita xx

Sunday, 3 February 2013

T is for Texture Paste....Feb Challenge at Scrapology

This month over at Scrapology we are lifting a beautiful layout by Heather Jacob  and we are being challenged to use Texture paste on our pages.
 I have never used this product but have often admired other peoples work using it. Well what can I say?? I LOVED playing with it and I really REALLY enjoyed making this layout. I cannot remember the last time I felt like this about a page and I know it probably sounds daft, but I really feel like my mojo could well be rolling back to me....hopefully :).

Probably helped that I played with my absolute favourite colours too lol and also broke out some old OLD stash that I have had for a long time....that little plaque is from the very early Basic Grey days...not sure if its Motifica or Sublime, but it is def old lol.

I used a 12 x 12 Harlequin mask to spread the paste through and added in some teal acrylic paint in patches. I broke out my old seed and bugle beads and glued down in patches too....waste not want not! LOL....looks a little like eyelashes doesn't it.

A sprinkling of bling, blossoms and yummy AC Thickers ( again in my absolute fave colour!!)

I printed out some butterflies that were over on the awesome Swirlydoos site and then 'Stickled' them up.


Here is Heather's original, beautiful page that we were lucky enough to lift....gorgeous isn;t it!

And here is the sketch that we worked from.

Why not pop over to the Scrapology blog and look at the beautiful examples by the DT....we would LOVE to have you play along with us for this months challenge and you have until 5th March to enter
 
Jill at Cardinal Colours has come up with another fabulous prize this month.
Embossing Paste in Matt Black
and Glossy White
and some
applicator sponges.


                                                           So....come on, get 'pasting!'