Showing posts with label blossoms. Show all posts

Friday, 16 August 2019

Grateful Moments .....Stamperia Spring Botanic

Hello :)

I thought I should get up to date with my last few layouts I made for the DT blog over at Papermaze.

I umm'ed and ahhh'ed about what photo to use for this page,but eventually settled on this one of us with our youngest daughter on her Christening Day back in August 2000.


Based on a sheet of Spring Botanic with English Roses, I trimmed 2cms off the top and the left hand side and then inked around the edges with an old dark brown ink pad, just to define the edges.
I then placed it onto a sheet of Herbarium. I also used a stencil with some script on it and gently sponged some white acrylic through it to just add a little more texture to the background.


Using a circle cutter I took my 7 x 5 photo and cut a circle with a 5" diameter and framed it using some pretty trim that was in my DT kit. It didn't quite fit all the way round so I added some large blossoms from my stash to cover the gap.


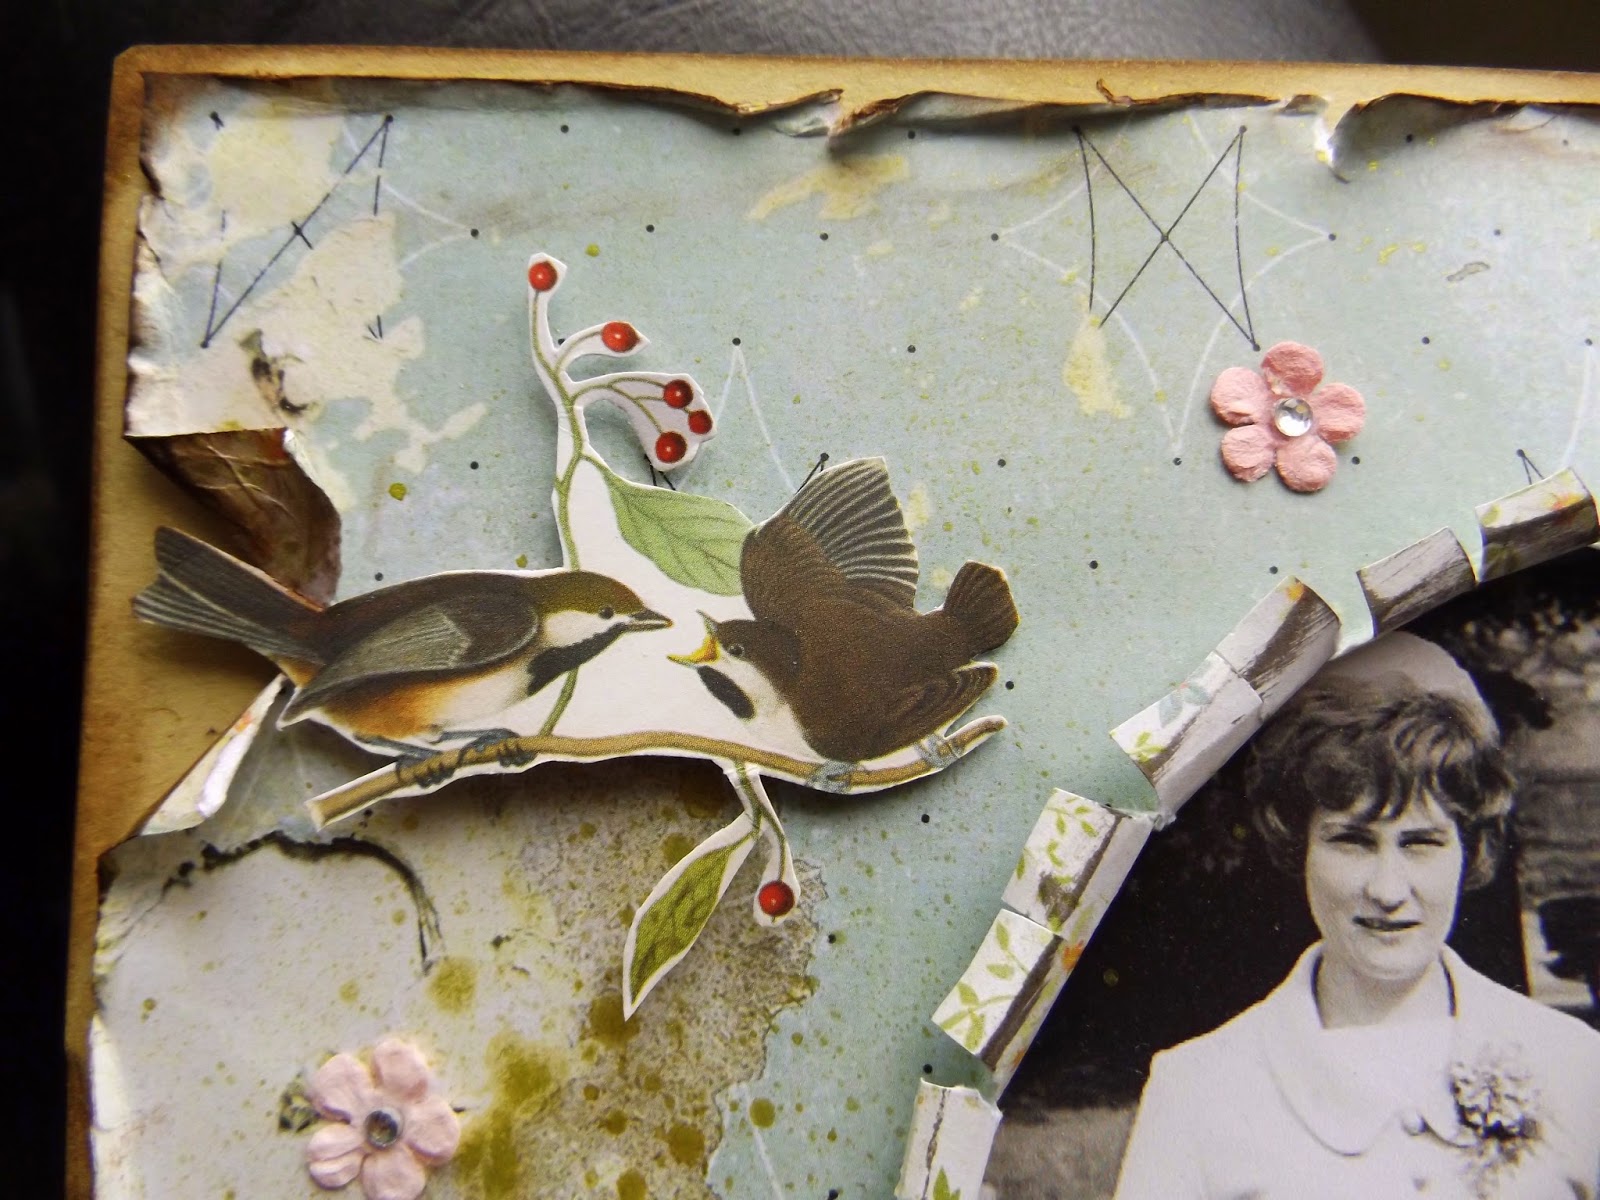
I used the leftover part of the sheet of  Yellow Alpine Poppy and cut out the poppies and the bird on a branch and added to the bottom left and upper right of the page and a couple of the post card panels behind the photo.


I finished the page off by adding small letter stickers, Prima Planner Flowers, Prima Crystals and some chipboard word peices. I also picked a bottle of Stickles and Liquid Pearls from my stash and added large dotted circles in various places round the page.


It's been lovely working with Stamperia papers for my last few posts on here and you can find a lovely selection of them in the shop HERE along with lots and lots of other gorgeous goodies.


Happy Crafting everyone.

Waarmest wishes
Anita xx


Saturday, 7 April 2018

Now she is 18!

Hi There,

 I have been creating with the dazzling new Amelia Rose Collection from Prima. Once again they have released another stunning range of papers and co-ordinating goodies. There are beautiful vintage papers, floral mixes and the luxurious swathes and detailing of foiled copper and rose gold accent.....truly gorgeous!

Our youngest daughter has just turned 18 in the last couple of weeks and some of her balloon banners were a coppery rose gold in colour and I thought these papers would be great for popping her onto!


I de-saturated most of the photo back to black and white, leaving only the copper and browns still showing before printing it out. The Lovely Scribbles sheet is gorgeous and heavily foiled, so I chose to just use part of this and placed it as a backing to create a thin frame around the page ( I gutted the centre out first to save for another page)
I took the sheet of Texture Lover, cut it down slightly and used a Black Soot Distress Stain to just swipe around the edges....and also added a few splats here and there. The page is already beautifully detailed with some vintagey paint effects, distressing and some lovely foiled scriptwork.
In my DT kit along with the gorgeous papers and cardstock I also had some lovely antique looking book plates. I used one of these and popped in the number 18, taken from my own stash of alphabets.


I also took a sheet of Dark Florals and Ticket Collector (both foiled) and cut out various sections of flowers, scrolls, foliage and tickets, these were then scattered around the photo to create a semi frame (some were raised on foam pads for dimesion) and I also slipped a small black doily slightly behind the photo too.


Using some Stickles in Rose I gently highlighted some of the black ink splats to co-ordinate with the pink blossoms in the paper sheet and also added more letters to say Chloe from the same pack as the number 18.


Some black blossoms were also in my kit and I glammed these up with some Copper Stickles.


In various places around the outer edge of the layout I tore little sections and turned them back slightly, leaving a tiny blossom on the edges.


I finished off the page with sprinklings of copper and rose gold sequins in various shapes and sizes and also a cherub button, which I removed the shank from the back.


If you pop over to the shop you will find lots and lots of wonderful goodies....including the latest new 5 releases from Prima
Amelia Rose
Lavendar
Cherry Blossom
Love Story
Vintage Floral

Right, thats it from me for now ....I will be back later in the month again with another project with Amelia Rose

Happy Scrapping
Anita xx

Monday, 8 January 2018

Prima Zella Teal......... oh its yummy!!

Hello There, I have been over on the Papermaze blog with my first post of 2018 and I would like to wish you a very Happy New Year!

I am chuffed to bits to have been able to work with this stunning new collection from Prima, Zella Teal. Its a gorgeous colour palette of beautiful blues and aqua's...... a sprinkling of  browns and some truly gorgeous holographic features that are dazzling when they capture the light.


The papers are all double sided......and that is where the problem lies.....both sides ARE GORGEOUS!!   Which to choose???  Buy 2 of each sheet....problem solved ;)

I decided to use a photo from 2010....a family holiday in Buckinghamshire. We visited Windsor for the day and after a lovely walk around we went on a boat trip down the Thames. This photo is one of my eldest daughter's favourites and I felt the Zella Teal papers were just right for it.


I based the page on a sheet of Live Loudly, which has a beautiful spray of flowers in 2 opposite corners.


I cut a couple of posies from a sheet of Zella Teal, including the gorgeous holographic leaves and accents . They really glow when they catch the light. I raised these up on foam pads to create dimension


I normally square cut the photo mats, but I wanted a softer edge this time so I tore the cardstock mat, leaving a feathery edge. I also used a couple of different Cosmic Shimmer Mists on the page, squirting large drops, creating a pool of ink and then blowing it out in different directions.


I also used a small 6 x 6 inch stencil I had in my stash ( not sure of make or design) and spread some Sparkle Medium through it. This stays raised when it is dry and adds some texture and dimension to the page.


I finished off my page by adding a few random half pearls and gems here and there across the layout and adding some paper blossoms and also some butterflies that I had printed off the internet onto cardstock.


I think this collection will be high on my list of favourites.....I will definately be needing some more!!

Warmest wishes
Anita xx

Tuesday, 14 November 2017

Very Merry ......with Simple Stories.

Hello There, I am over on the Papermaze DT blog with my first posting for November.
I have used some papers from the Very Merry collection by Simple Stories this time and teamed them up with a photo taken in the lead up to Christmas 2016. (apologies for the poor quality of the photos, the lighting has been dreadful with such dreary and drab weather)
I had just got the Snapchat App on my phone and had great fun playing with the various filters on there that add some really cute and often funny features to your faces ( not to mention some random ones that are just downright bizarre!!!).
We were heading on a family trip out to do some Christmas shopping, but our youngest Daughter was busy elsewhere, so we sent her a Snapchat message of my eldest Daughter and I.


As with all collections from Simple Stories, there are various double sided sheets. Some are purely patterned each side but there are also some sheets of Journalling elements plus Vertical and Horizontal Elements and of course the various sticker sheets and Snap Cards.

I based the layout on a sheet of  Seasons Greetings
I also cut a couple of Vertical Elements out, one of which I used as a photo mat.


I then cut various flower and leaf clusters out from a sheet of Peace on Earth 
and placed them around the page in various places. I cut up a few random
rectangles and stacked them to look like presents and tied them up with some red organza ribbon.


Various papers blooms, glittered Ivy leaves, Sequins and MDF laser cut shapes were added just to finish off the page.

 I have several other Snapchat photos that I have had printed and I am looking forward to scrapping with those too!
 I will have to have a look and see what other Simple Stories Collections will work well with them.....there are so many various sets available at the SHOP covering all different themes that I am sure finding something suitable will not be a problem.

Hope you have had lots of scrappy fun so far this month and I look forward to catching up with you later in November,

Warmest Wishes
Anita xx


Thursday, 9 March 2017

Beautiful memories......Cherry Tree Lane by Kaisercraft.


Hi There,
 I have made a layout this time with the rest of the Kaisercraft Cherry Tree Lane papers. Such beautiful, vintagey colours and patterns and a real pleasure to create with. I decided to use a wedding photo of my Dear Mum with her Daddy, from way back in 1966.


I based the entire layout on a sheet of Kraft cardstock and then laid a sheet of Quill over it, which I distressed the edges on. The photo was a little over a 5 x 7 and I decided to cut an oval aperture for it to sit in. I cut the oval a bit smaller than the photo and then snipped and rolled back several sections to create a curled frame.


 I used a script stencil and added some Texture paste..... unfortunately this just didn't work very well and was rather blobby in patches which is a great shame. But hey ho....never one to be beaten by a crafting product, I just got out some Cosmic Shimmer spray in Gold and sprayed and splattered across the page ( this made me feel a bit better!)

A length of cotton lace was fixed across the whole width of the layout and I then
 took the sheet of  Telegraph and a sheet of Correspondance and cut lots of elements out which I scattered in various place about the page.


By layering up the flowers and letters/ephemara etc it adds a little texture and depth but without adding bulk.


I fnished the page by adding some small pearly swirls, teeny blossoms and a lovely chipboard title (from my stash). I think the Cherry tree Lane collection is absolutely beautiful and you can find it HERE in the shop, along with lots of other Kaisercraft Collections

Anita xx

Tuesday, 21 February 2017

Naturally Beautiful.....Cherry Tree Lane.

  Hello There, this is my first attempt at making a decorated book.
 I have been working with Kaisercraft's beautiful Cherry Tree Lane Collection which has a wonderful vintage feel to it and combines with the age old art of letter writing, sending telegrams and old fashioned typewriters plus natures finest blossoms. This really is such a pretty collection!


I started with an old book that I had bought from a boot sale back in the summer and leaving the very first and last page out, I folded back 2 pages at a time, folded in half to the centre of the book. I carried this on right throughout the book and then gently inked the edges with an old ink pad.I also stuck the first and last pages down flat onto the front and back inside covers of the book.


Next I set about cutting pretty elements out from a sheet of Cherry Tree Lane - Letters (perforated) 
This is a heavier weight than the standard sheets and is indeed perforated into several sections 


I used the floral elements at the top and bottom of the book on alternate sides and then tucked various other letters, postcards and other ephemera in various places.
I used a sheet of Cherry Tree Lane - Leather to make a couple of Rolled Roses, you can see a youtube tutorial here 
and then added a few other paper flowers, along with some scattered punched out sprigs.


And to finish it all off I also added some wooden buttons and some pearly swirls, lace and and a pearly spray. I really quite enjoyed creating this, so I will probably try another one sometime with another collection.

Warmest Wishes
Anita xx

Friday, 21 October 2016

Seaside Cottage by Blue Fern Studios

I am over on the Scrap,Paper Scissors blog today with my newest layout using Blue Fern Studios
==========================================================================


Hello to you all, it's Anita here with my first offering using some items from the lush Seaside Cottage Collection by Blue Fern Studios. The soft vintage summer colours and sun bleached wood patterns make this such a pretty set....with a little extra distressing I achieved a look that I am happy with.

Our family holiday this year was based in Somerset, one day we drove down to Briport in Dorset and onto West Bay. It was such a pretty little place and we very much enjoyed seeing some of the places that were used in the making of the series Broadchurch. I took this selfie of us when we were out on the harbour wall (after we had all been crabbing) and when I saw this range of papers I just knew they would be a perfect pairing.


The layout is based on a sheet of Gala. I cut a few slices in random places on the wooden slats, rolled back gently and inked to distress the edges and make them stand out. I then cut the large ships wheel from the sheet of Mermaid and popped lots of foam pads underneath, raising it up to give some dimension to the layout.


Over the years unfortunately I seem to have acquired a rather large obsession with using blossoms.....everywhere and anywhere on my layouts, whatever the theme may be (nothing is safe!!) So I rummaged about and picked some that I liked and then layered some of them together. My photo seemed to be a bit stark against the softness of the papers so I softened the edge by gently sponging with light brown, then white acrylic paint and finishing by gently rubbing some gold gilding wax along the edges. I popped a couple of gold doilies under the photo for a partial mat.

I cut out a few elements from the Calling Cards sheet, inked the edges and added them to the page. I also had some wavy shaped die cuts to play with. I painted them white and then dragged wisps of pale turquoise across them and then finished them off with a gentle rub of more gilding wax. I also rubbed some gold wax onto the edges of the ships wheel, each of the blossoms and all around the edges of the layout, giving a soft metallic sheen which gently compliments the gold in the doilies.


Once again Blue Fern Studios have produced another beautiful collection of papers that are lovely to work with and this and several other collections from them are available in the shop...... I hope you liked my layout, I will be back early next month with another project using some more of these gorgeous papers.

TTFN, Anita xx

Wednesday, 21 September 2016

Oh Baby! ........Prima 'Heaven Sent'

Hello There,
Anita here today with my final post for September using the adorable Prima Heaven Sent collection.
If you haven't already seen this collection then I can highly recommend it with its delicate pastel shades, vintage playful bunny, teddies and lambs and stunning soft rose gold foiling. I worked originally with it creating a gift basket and card for a new baby HERE
And now I have used it for a layout to showcase that beautiful new arrival.


I based the layout on a sheet of Welcome Baby  which I handcut wavy edges randomly around the entire edge of the page and gently inked with an old brown inkpad. I then stuck this onto a sheet of Heaven Sent and again gently inked the edges.

Around the edge of the photograph I gently ruffled some organza ribbon to make a soft frame and then placed it onto a frilly doily.


 I had a lovely chipboard butterfly by Scrap FX, which I sprinkled with large flake irridescant glitter and although it was pretty it wasn't quite right, so I sprayed over it with a pearlescant spray which also worked as a seal to stop the glitter from migrating.


I cut various bits and peices from the sheets of Sweet Lullaby and Special Delivery and used around the page and used various blossoms and bling.

I then finished the page by adding lots and lots of sprinklings of crystals to the hot air balloon and more crystals and teeny baby blossoms from the Prima Planner flowers Lola and Lucy around the wavy edge of the page.


This is a truly beautiful range of papers and has been a real delight to work with, hopefully you will decide you would like to try some too.

oh Baby
Warmest wishes
Anita xx

Sunday, 19 June 2016

...and so the Adventure Begins...'Blush' from Blue Fern Studios

Having had the enjoyment of playing with papers from the 'Serendipity' Range from Blue Fern Studios earlier on in the month, I have also been lucky enough to play with some of the 'Blush' papers too. I thought they were perfect for scrapping one of our wedding photo's, taken back in Sept, 1992.

  I always find it hard to photograph layouts to capture the true colours, sparkles and shimmers on the page and this is very true for this layout, such a shame. It started off as a shabby pink, but actually ended up in varying shimmering shades of copper, rose pink and stone white.


I used a sheet of Blush 'Celebration'
for the base of the layout and then I used a Harelquin mask and some texture paste to create the dimentional background.  I gave it a few squirts with some Rose spray and then a generous squirting of Copper Shimmer mist ( you can NEVER have too much shimmer and shine!!)
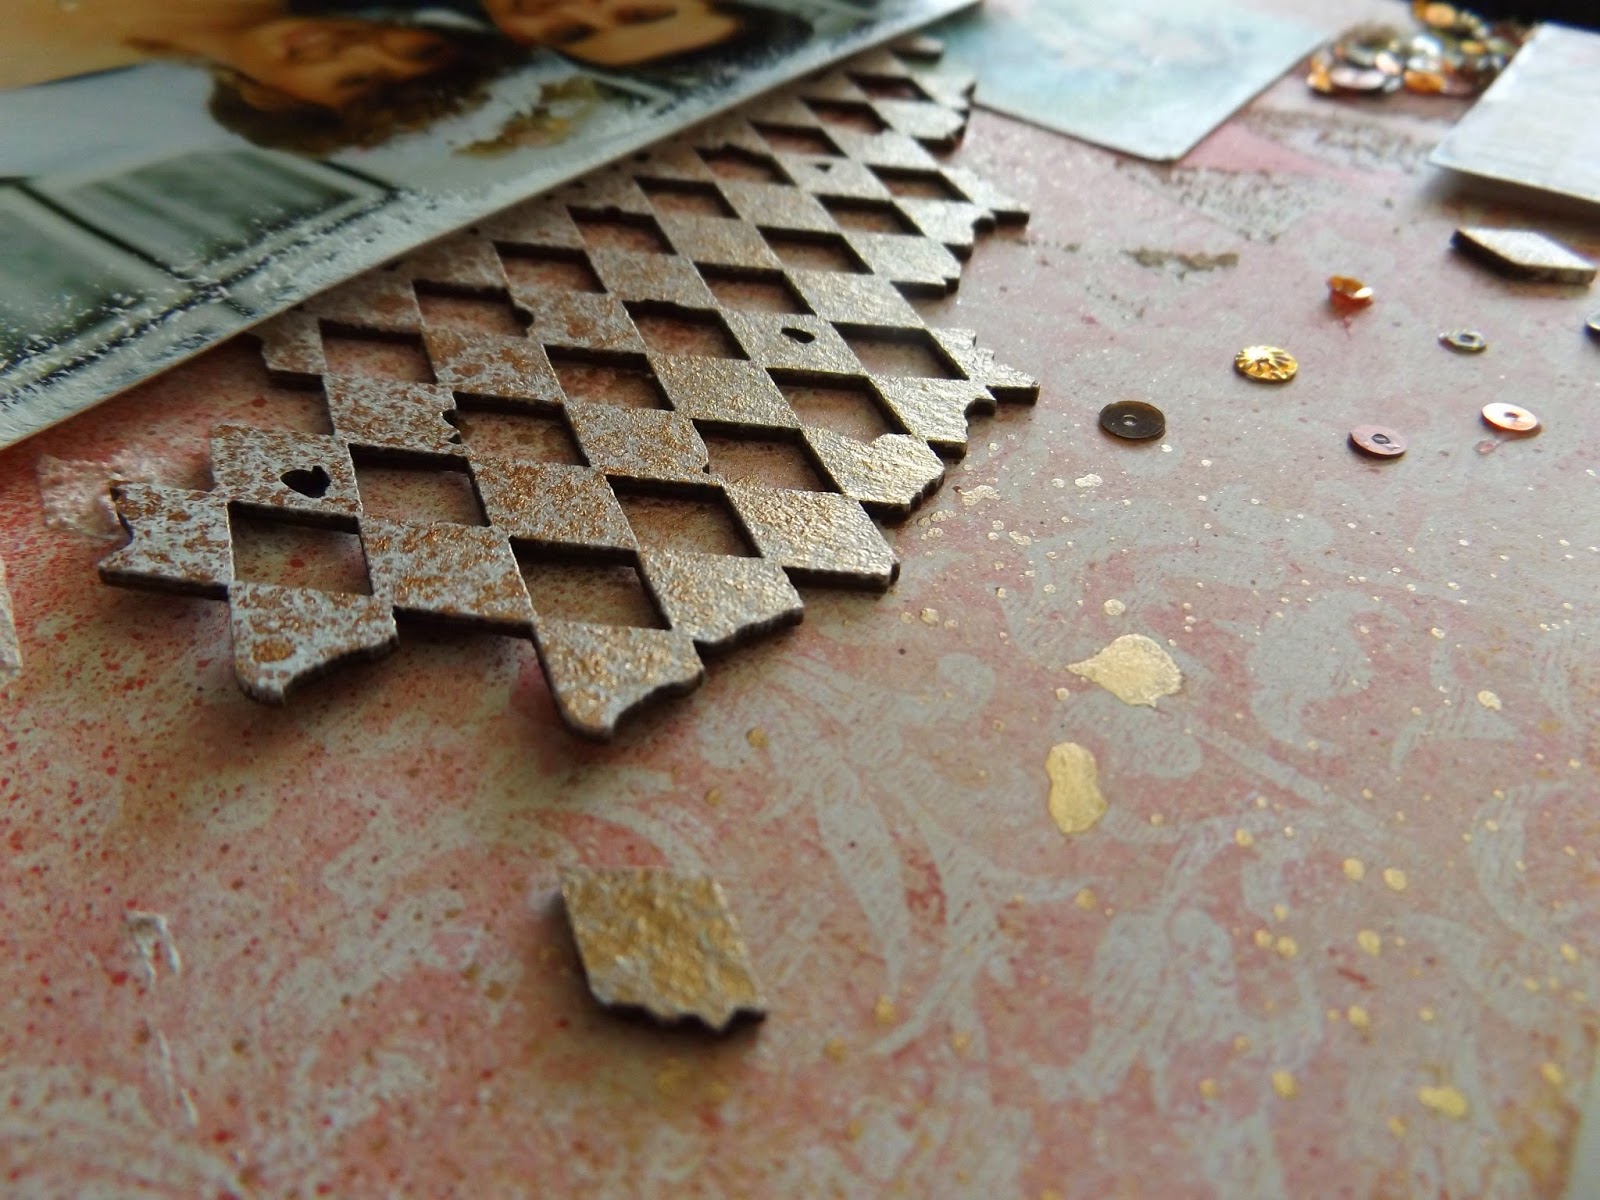
I had some harlequin chipboard to work with and I coated this with white acryic paint and lots of Copper shimmer mist, then scattered the peices about across the layout in various places. I wanted the photo to stand out, but without a mat to sit it on, so i sponged all round the edge with some more white paint just for some gentle definition.

I also had some black lace that I wanted to add, but it was way to harsh in black. So I sponged it with white paint and then added some Stickles.  I laid the lace just under the edge of the photo ( which I had raised up on foam pads for a little more dimension) I also added a couple of Prima Blossoms ( also gently sponged with white paint to tone the colours down a bit) And I made a couple of rolly roses and added a pearl in the centres. ( tutorial for roses here )


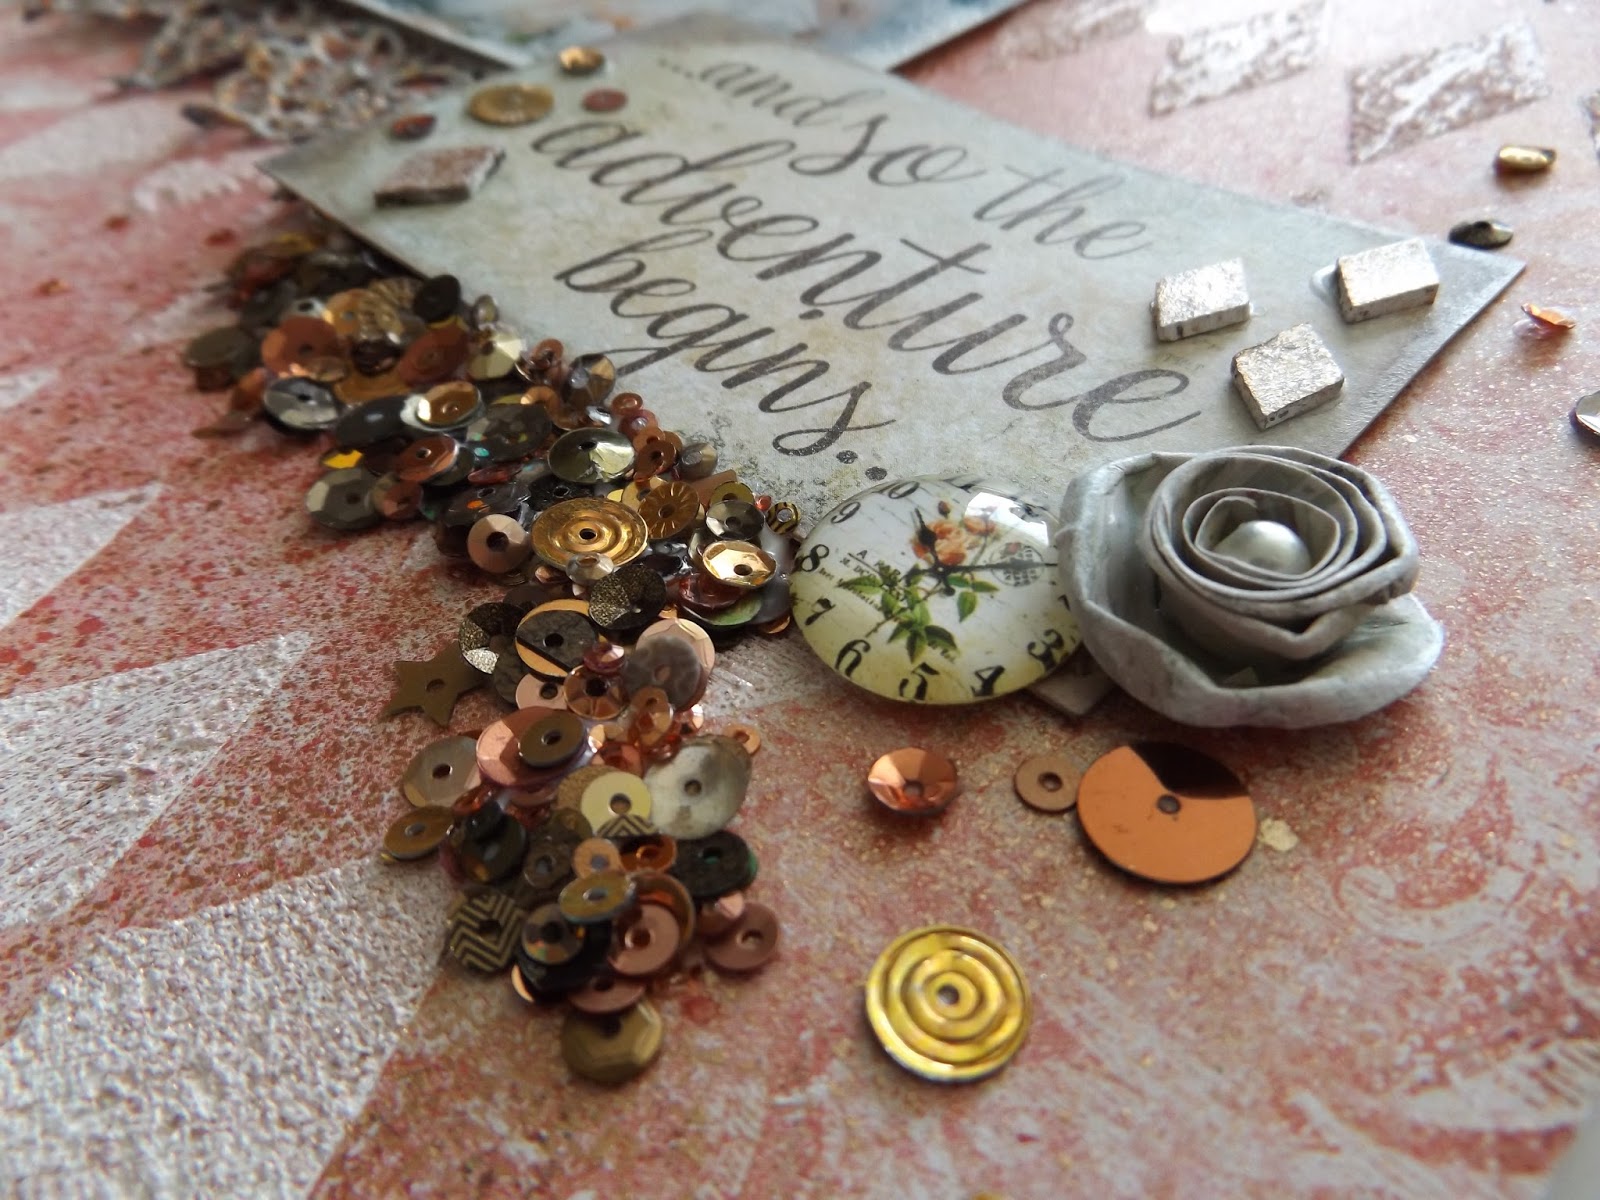
The sheet of Valentine Cards is covered with some lovely bits and peices, but I only cut out a couple of sections and added to the page. The bottom quote was taken from a sheet of Serendipity Calling Cards and I just popped on another rolly rose and a vintage cabouchon.


To finish the layout I just needed a bit more sparkle, but didn't know quite what.
I am really enjoying using sequins on my layouts at the moment. Normally I would just gently sprinkle a few around, but I went a bit wild! I started with just a few little odd sprinkles, but then decided I wanted some large clusters.....so i pooled some glue under the quote and built up a nice thick cluster of sequins in various golds, coppers and bronzes .... and then I thought I should stop!

I really have enjoyed creating with these Blue Fern Studios Papers and if you pop over to the shop you will find there are several designs available.
Thanks for looking, see you again soon.
Anita xx

Tuesday, 7 June 2016

Sea Breeze from Kaisercraft

Sea Breeze ......from Kaisercraft

Hi There,
Anita here, kicking June off over on the Papermaze blog with a layout I have made using some of the beautiful papers from the 'Sea Breeze' Collection from Kaisercraft....and they are in my favourite colourway too!!


Kaisercraft quality is absolutely superb and each of the papers in all collections are double sided. There are several collections available over at Papermaze
I scrapped this 7 x 5 family selfie, taken on a trip on the Thames at Windsor about 4 or 5 years ago, we certainly had a chuckle that day.
I based the page on a sheet of Bazill Aqua cardstock and a sheet of Sea Breeze Refresh 
I inked around the entire edge of each using a Dew Drop Brilliance Pad in Pearlescent Chocolate , this gave a lovely shimmering tint to it all. I cut a sheet of Sea Breeze Swirl into 4 strips approx 1" wide, inked the edges and then created a rustic frame for the photo, adding brads in the corners.

I love using chipboard, sometimes I leave it naked as it is, but more often than not I like to paint it, glitter it or foil it. I had a lovely Blue Fern Studios Flourish and this time I used Glimmer Glam in Expresso Bean and sprinkled some brown glitter onto whilst still wet. I also had some lovely wood effect sequins to play with....and these were sprinkled in various places across the page.


One of the sheets in the Sea Breeze collection, Lake , is covered on one side with some lovely black blossoms. I cut a few out, layering some up and also some leaves and arranged them down the side of the frame along with some mixed blue blossoms.

I finished the page off by adding a few elements from the Sea Breeze Collectables and some printed butterflies.
Thank you for looking.
Warmest Wishes
Anita xxx