Showing posts with label Stickles. Show all posts

Friday, 16 August 2019

Grateful Moments .....Stamperia Spring Botanic

Hello :)

I thought I should get up to date with my last few layouts I made for the DT blog over at Papermaze.

I umm'ed and ahhh'ed about what photo to use for this page,but eventually settled on this one of us with our youngest daughter on her Christening Day back in August 2000.


Based on a sheet of Spring Botanic with English Roses, I trimmed 2cms off the top and the left hand side and then inked around the edges with an old dark brown ink pad, just to define the edges.
I then placed it onto a sheet of Herbarium. I also used a stencil with some script on it and gently sponged some white acrylic through it to just add a little more texture to the background.


Using a circle cutter I took my 7 x 5 photo and cut a circle with a 5" diameter and framed it using some pretty trim that was in my DT kit. It didn't quite fit all the way round so I added some large blossoms from my stash to cover the gap.


I used the leftover part of the sheet of  Yellow Alpine Poppy and cut out the poppies and the bird on a branch and added to the bottom left and upper right of the page and a couple of the post card panels behind the photo.


I finished the page off by adding small letter stickers, Prima Planner Flowers, Prima Crystals and some chipboard word peices. I also picked a bottle of Stickles and Liquid Pearls from my stash and added large dotted circles in various places round the page.


It's been lovely working with Stamperia papers for my last few posts on here and you can find a lovely selection of them in the shop HERE along with lots and lots of other gorgeous goodies.


Happy Crafting everyone.

Waarmest wishes
Anita xx


Saturday, 22 June 2019

Imagination..........Stamperia Voyages Fantastiques


For this post I have worked with some more Stamperia papers, this time from the Voyages Fantastiques range. A beautiful steampunk collection combining vintage aqua, creams and browns.
I chose a photo taken back in 2006 of the four of us, we were actually taking an autumn walk on a local beach.


I based the layout on a sheet of Wallpaper 
and then took a sheet of Air Balloon . I tore the left hand side off at approx 5.5 inches and inked all around the edges, then stuck it too the left hand side of the backing sheet.
From the remainder of the sheet I cut out the balloons, wings and the adventure quote.


I love using Cosmic Shimmer Sprays and I had a good old squirt all across the page, pooling the ink in some areas and then letting them run down the page. When this dries it gives a beautiful metallic shine.

I cut various bits and pieces of paper and inked the edges, then layered them behind the photo. Some cream cotton lace was laid across the bottom of the photo.


I had a rummage through my collection of Stickles and Liquid Pearls and chose 3 colours, Dark Chocolate, Rose Gold and Platinum. Using a selection of pots and lids of different sizes to work round I added dots of each of the colours and created decorative circles in random places about the page.

In my DT kit I had a few bits and pieces of chipboard shapes, so I picked some out and then sprayed and dabbed them with Cosmic Shimmer Mists too as I felt that on this page they didn't really work staying plain.

As you can see, by adding some colour to the chipboard really makes it co ordinate with the papers.


Stamperia produce a stunning range of papers, many of which are in stock in the shop and would be great for scrapping various photos or creating beautiful cards.....why not pop along and have a look and treat yourself.

Happy Crafting
Anita xx

Monday, 16 October 2017

When you Love What You Have ......Kaisercraft Golden Grove


Hello There......I am over on the Scrap Paper Scissors blog where I have been using the rest of my beautiful Kaisercraft Golden Grove papers for this layout. This is such a lovely colour-way to play with and is perfect for both scrapping and making cards too.


I cut a large circle out after drawing round a plate and also punched out lots of small circles, which I then stuck all the way round the large circle to create a scalloped edge.


                              I felt that the scalloped circle was a little plain and so I popped on flat
                                        backed pearls and crystals alternately onto each scallop.


I used a dark green piece of cardstock and tore a jagged mat for the photo to sit on and then brushed some Icicle Stickles around the torn edges to give a soft sparkle


The papers have some rather stunning flowers on and these were fussy cut and layered on foam pads in various places around the page to help add a little dimension.
There were a couple of teeny butterflies in amongst the flowers so i cut them out and added to the quote panel and raised the wings. Then popped a green organza ribbon bow on to finish.


I finished the page by adding little twinkly highlights here and there with some more Icicle Stickles......Jeez I love that stuff!! It is probably one of most used items in my stash! Can't beat a little bit of sparkle eh!....

This gorgeous collection from Kaisercraft can be found in the shop here  along with a vast selection of other gorgeous and fabulous goodies......grab a cuppa, sit down and have a good look....you will be glad you did!

Happy Scrapping!
Warmest wishes Anita xx

Friday, 5 May 2017

Words to live by.....Wildfowers by Kaisercraft

Hello....
I am over on the Scrap,Paper,Scissors blog today and I would like to share with you a layout I have made using the delightful Wildflower collection from Kaisercraft ...a range of beautiful papers, combining watercolour prints in a beautiful pastel colour palette.....with the added beauty of soft florals and delicate butterflies.


The designs are very soft and although pastel, also have little twists of citrus tones in patches which work really well. I matted all the elements with black cardstock to really make then *pop* and create dimension without too much added actual *depth*


I often prefer to scrap using black and white photo's and today was no exception....although these papers would carry a coloured photo well, I really felt that black and white would sit best on there and I chose a photo of our youngest daughter, taken on a family holiday in 2010. I still look at it and wonder just what she was thinking as she stared at the camera.


I used a sheet of  Spring and trimmed a thin slice from 2 sides, I then popped this onto a sheet of Raven Bazill to create a frame all round.


I cut some flowers and different shaped panels from a sheet of  In Bloom and then also matted these onto black cardstock, I also did the same for the quotes that were taken from a sheet of  Gathered and I popped the photo onto a black mat.


 I layered the various panels and then took the sheet of  Wings, cutting out several butterflies. These were then adhered to the page to look like they were gently fluttering past and finished off with a delicate sprinklng of Stickles to make the wings glisten.


This really is a truly beautiful collection from Kaisercraft and will cover a range of subjects I think. After suffering from a total lack of mojo of late this actually came out rather nice and I am really quite pleased with it.

Thanks for looking and I would like to wish you all a super weekend.
Warmest wishes
Anita x

Saturday, 25 June 2016

Photo Bunting and a simple Layout using Sea Breeze from Kaisercraft

Hi There....
I decided I would try my hand at making some photo bunting and as these papers from the Kaiserdraft Sea Breeze are in my fave colours I just knew I had found the perfect ones to use and combined them with some family photo's.


I made a heart shaped template and then cut out 11 heart shapes on nice sturdy chipboard. I covered 6 with some of my favourite black and white photos, I then sponged around the edges with some white acrylic paint and the remaining 5 hearts were covered in scraps of paper including Refresh Splash and Swirl


I then added paper blossoms, sequins and butterflies that were given some *bling* using some Mercury Glass Stickles Each heart had 2 holes punched into them and I threaded them all up with some garden twine. I am really pleased with the final product and see a few more in the pipeline in different colours. I think they would be wonderful for a wedding decoration, using photo's of both the bride and groom, maybe as they grew up and decorated in the wedding colours or for a special anniversary.....or imagine for a child's first birthday with some of their 1st year milestones....the list could be endless


I also made a very quick, simple layout. I based it on a sheet of Sea . I stuck a 5" wide band of  Refresh down the centre with a thin scalloped band of  Waterlily down each side.
I misted various patches with some Turquoise spray and added a sprinkling of turq and silver sequins and a selection of die cuts from the matching Collectables range.


I don't know about you, but I LOVE using my sewing machine to stitch sections on layouts if I get the chance. However......there is a brand new range of gorgeous stamps in the shop by a new manufacturer called 49 and Market
And in the range is a gorgeous set called Gabi's Line Stitch .....I fell in love with these and they sell out so quickly everywhere that I have seen them.....so I managed to grab a set.....and they ARE AWESOME!!! I used them around the edges of my layout....and I can see they will be appearing in LOTS of places from now on. ;)


Have you played with Sea Breeze yet?  If so, it would be lovely to see what you have created with it.
Happy Scrapping.
Anita xx

Sunday, 19 June 2016

...and so the Adventure Begins...'Blush' from Blue Fern Studios

Having had the enjoyment of playing with papers from the 'Serendipity' Range from Blue Fern Studios earlier on in the month, I have also been lucky enough to play with some of the 'Blush' papers too. I thought they were perfect for scrapping one of our wedding photo's, taken back in Sept, 1992.

  I always find it hard to photograph layouts to capture the true colours, sparkles and shimmers on the page and this is very true for this layout, such a shame. It started off as a shabby pink, but actually ended up in varying shimmering shades of copper, rose pink and stone white.


I used a sheet of Blush 'Celebration'
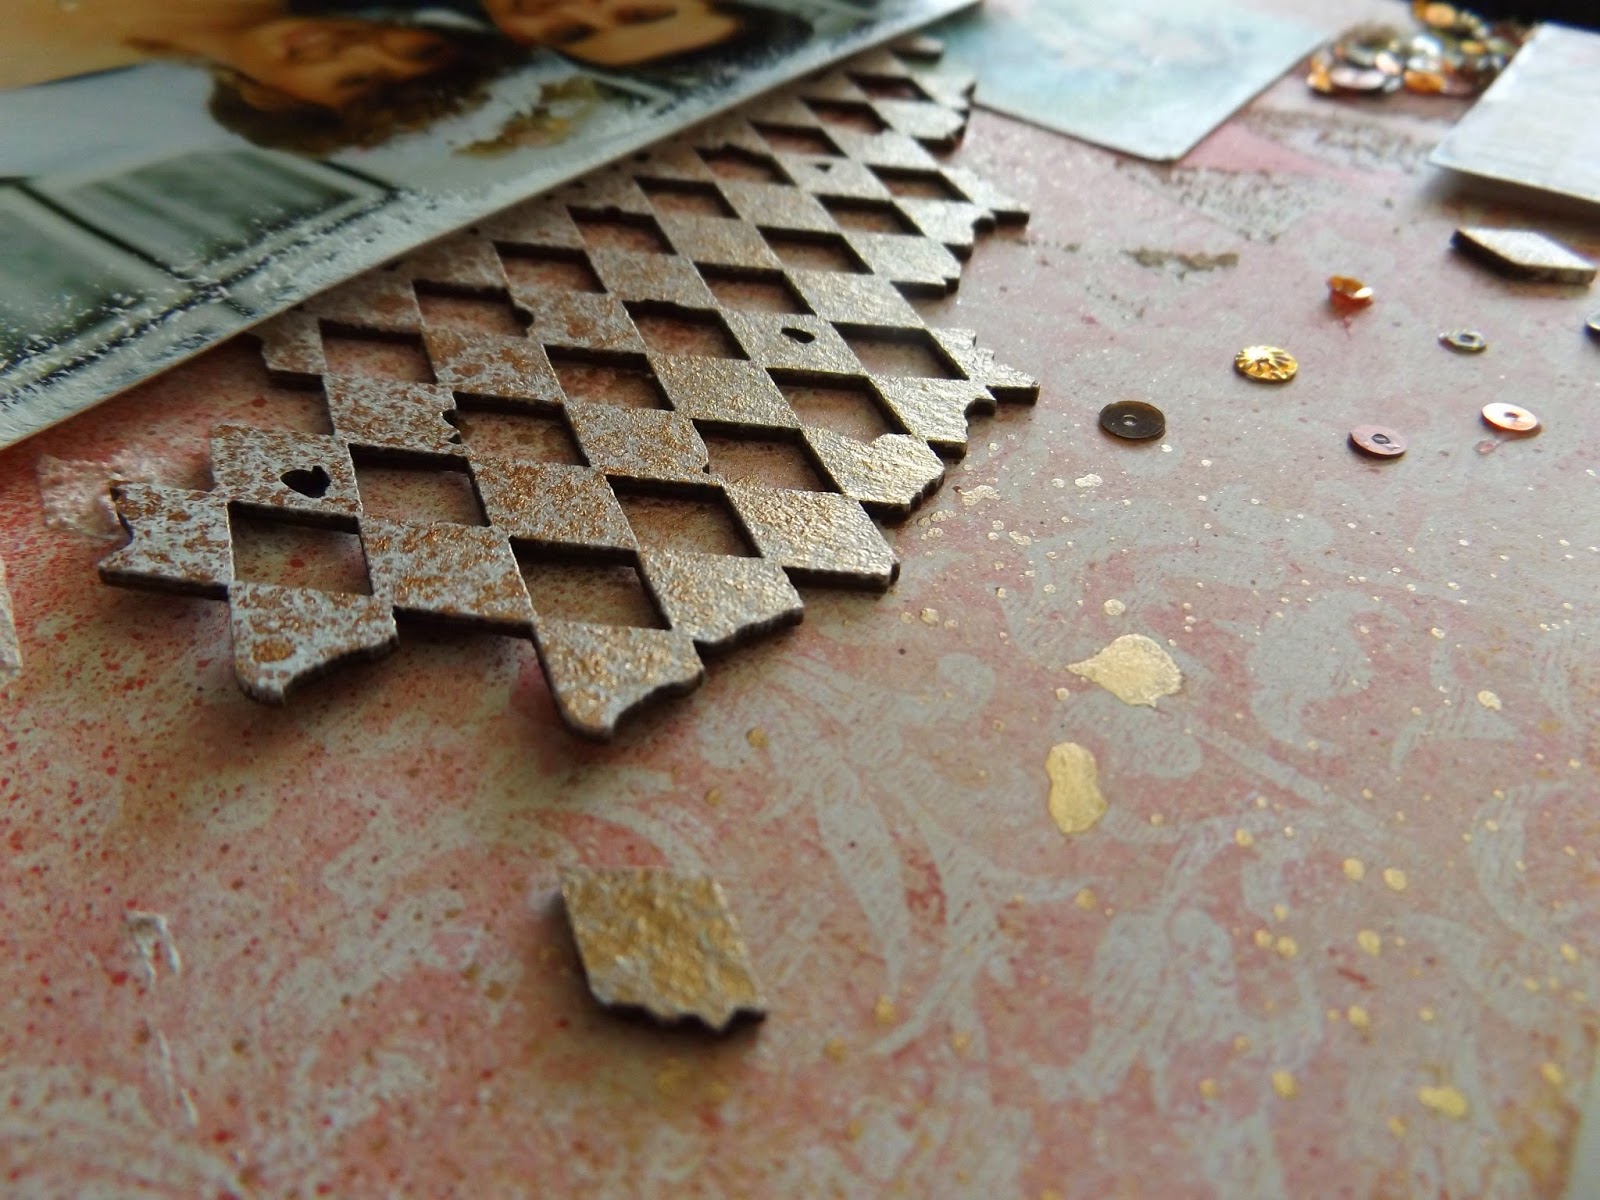
for the base of the layout and then I used a Harelquin mask and some texture paste to create the dimentional background.  I gave it a few squirts with some Rose spray and then a generous squirting of Copper Shimmer mist ( you can NEVER have too much shimmer and shine!!)
I had some harlequin chipboard to work with and I coated this with white acryic paint and lots of Copper shimmer mist, then scattered the peices about across the layout in various places. I wanted the photo to stand out, but without a mat to sit it on, so i sponged all round the edge with some more white paint just for some gentle definition.

I also had some black lace that I wanted to add, but it was way to harsh in black. So I sponged it with white paint and then added some Stickles.  I laid the lace just under the edge of the photo ( which I had raised up on foam pads for a little more dimension) I also added a couple of Prima Blossoms ( also gently sponged with white paint to tone the colours down a bit) And I made a couple of rolly roses and added a pearl in the centres. ( tutorial for roses here )


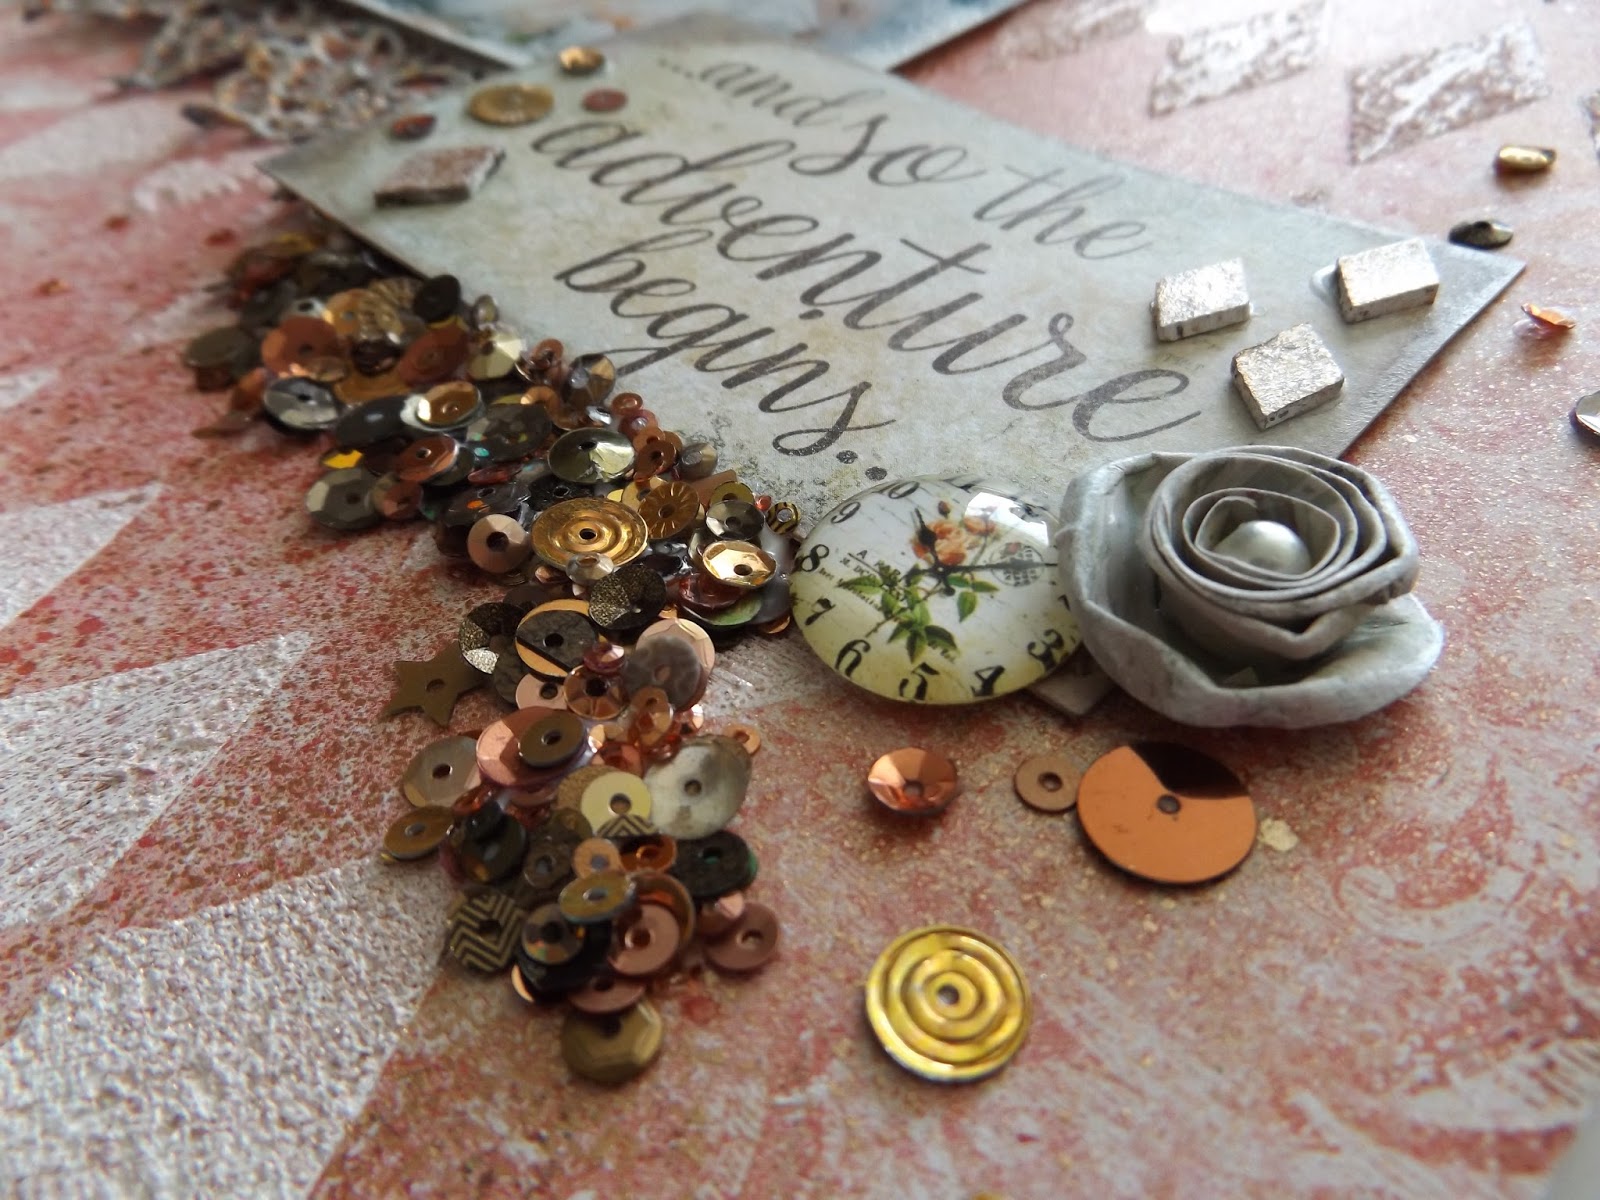
The sheet of Valentine Cards is covered with some lovely bits and peices, but I only cut out a couple of sections and added to the page. The bottom quote was taken from a sheet of Serendipity Calling Cards and I just popped on another rolly rose and a vintage cabouchon.


To finish the layout I just needed a bit more sparkle, but didn't know quite what.
I am really enjoying using sequins on my layouts at the moment. Normally I would just gently sprinkle a few around, but I went a bit wild! I started with just a few little odd sprinkles, but then decided I wanted some large clusters.....so i pooled some glue under the quote and built up a nice thick cluster of sequins in various golds, coppers and bronzes .... and then I thought I should stop!

I really have enjoyed creating with these Blue Fern Studios Papers and if you pop over to the shop you will find there are several designs available.
Thanks for looking, see you again soon.
Anita xx

Friday, 27 May 2016

Puppy Love .. 'Bringing Chewie Home' .... Teresa Collins 'Life Emporium'

Check out this little poppet, cutie or what??
This is Chewie.....the newest member of our extended family.......he is 7/8Wolf Sable Pomeranian and 1/8 Bichon Frise......and 100% adorable. Lauren and Jack collected him on Saturday and bought him home and they are settling down to life as *new parents*

So I just had to scrap the occasion didn't I??


I used some lovely papers from the Teresa Collins 'Life Emporium' collection to which I added blossoms, glitter card, charms, butterflies and various Alphabet stickers amongst other things.
Watch this space as I do believe there will be more of this little fella xxx

Sunday, 22 May 2016

'Uniquely You'......... Serendipity by Blue Fern Studios


 I have been playing with some fabulous papers from Blue Fern Studios. This is the first time I have worked with these papers and I just cannot get over the wonderful quality of each sheet and the stunning designs on them, what a pleasure it's been ( I can see a new obsession brewing here!)

The photo's of our youngest were taken on a sports award night that she attended and was awarded Sportswoman of the Year. The photos were taken before the ceremony and so I will now also be having to scrap the photos of her with the awards too!


I started off with a sheet of Serendipity - Chronicle as the background and took a sheet of Serendipity - Imagination which I cut a random wavy edge around and also inked up the entire edge with a dark brown ink pad.
 On the right hand side I tore a line in towards the centre of the page and then rolled the edges back.  I chopped up the sheet of  Serendipity Calling Cards, chose the ones I wanted for this page and gently inked the edges. These were then used up for layering around the photos

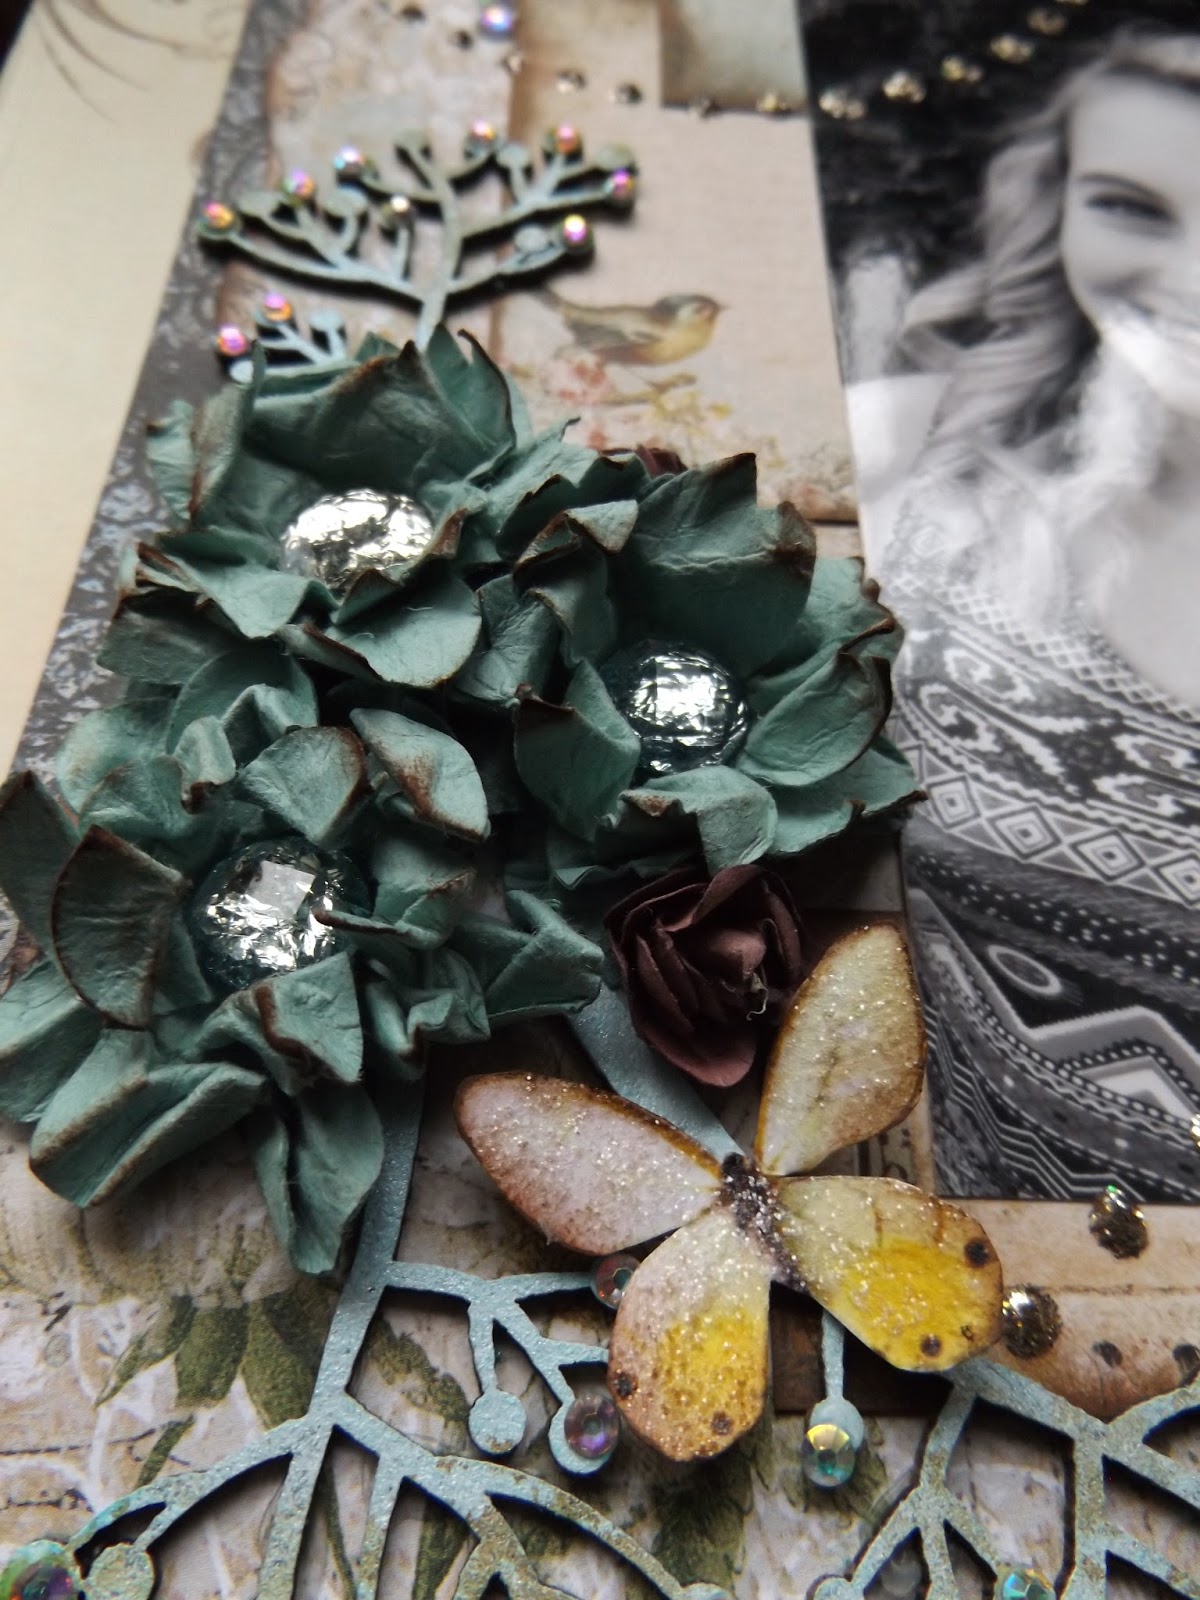
In my kit I had a sheet of Bazill Cardstock called Lagoon and because of the small tints of blue in the actual papers, I thought I would use the cardstock to create some flowers to adorn the page. I punched out several flowers, spray misted the die cuts with water and allowed them to soak in for a while, before then scrunching each one up and putting to one side to dry for using later.
Once they had dried out I layered them up and stuck a nice big flat backed gem in the centre ( I LOVE a bit of bling!)

I don't know about you but I really love using chipboard embellishments on my pages, they are so versatile and can be left plain as they come or can be inked, painted, glittered etc to dress them up. I took these Blue Fern Studio Berry Stems dabbed them with an Aqua Acrylic Dabber and then gently sponged some tiny patches with some gold acrylic paint. I also added some little crystal bling on some of the berries.
I quite often like to add butterflies to my pages, so I printed out some onto white card and then coated with Sprinkled Sugar Stickles. 
I also used a beautiful chipboard Romantic Page Dangle which I painted in brown and over dabbed with some gold acrylic paint. Using some jute twine I criss crossed stitched across the torn section on the right hand side of the page and layered the chipboard dangle over the top, adding crystals, a butterfly and also another handmade blossom.


 I finished the page off by adding a few crystals here and there and also using a bottle of Mercury Glass Stickles , I used various round items as a stencil and dotted the Stickles in blobs around them.

I enjoyed using these products so much and cannot wait to play with them some more, if you pop over to Papermaze you can see all the products I have used , especially the beautiful papers in the Blue Fern Studios ranges.

Thanks so much for looking at this post, I hope you have a super scrappy week.
Warmest wishes
Anita x

Tuesday, 23 February 2016

How Time Flies........

Hello There
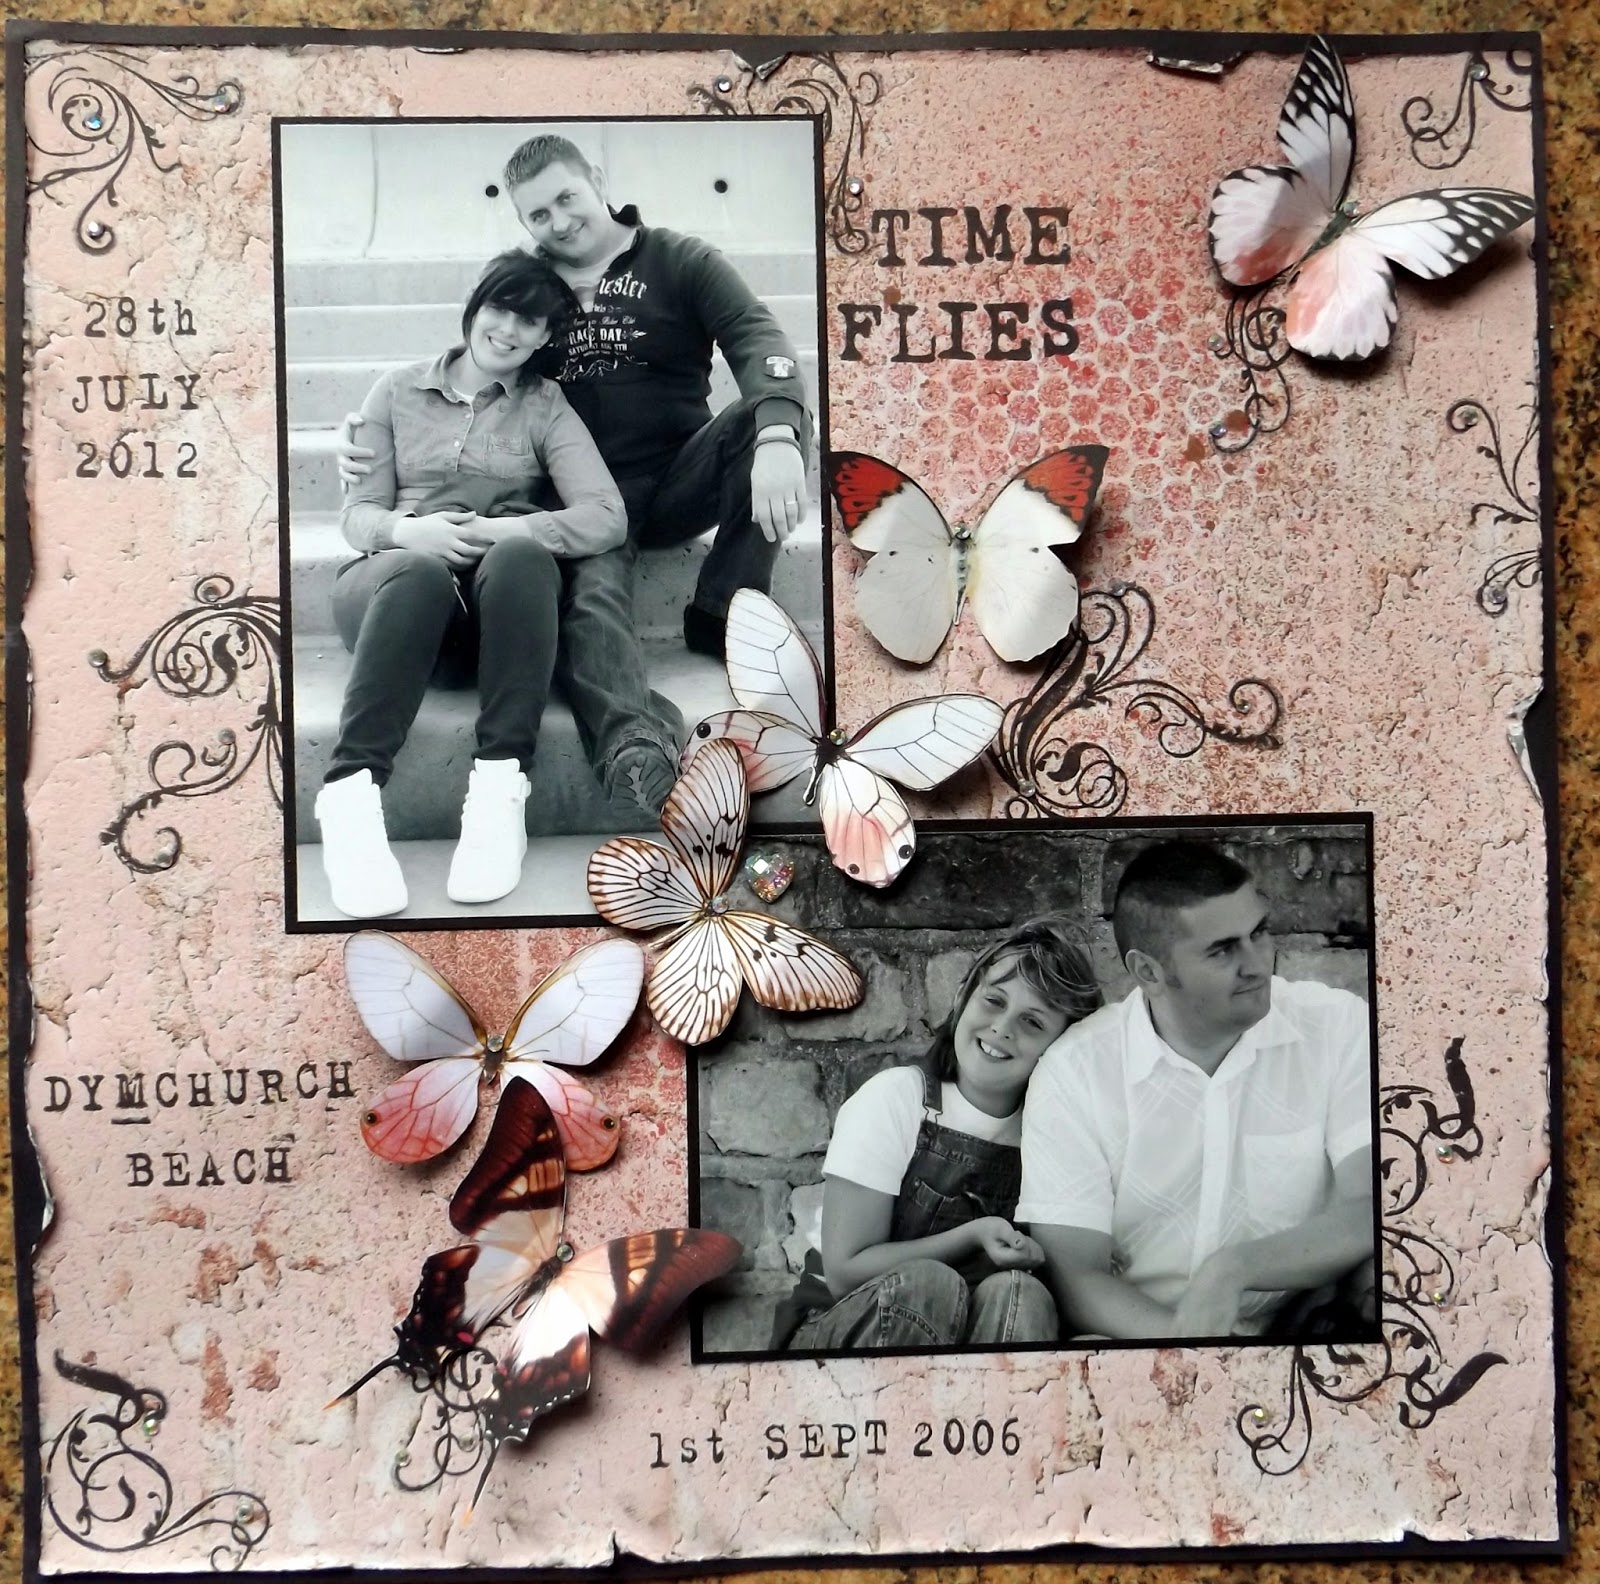
I thought I would share a couple of layouts I have recently made using some gorgeous Kaisercraft papers from the Ma Cherie collection I have wanted to scrap these 2 photos of Dale and Lauren for some time. They were taken on 2 holidays, when we went on a day trip to Dymchurch and spent some time on the beach....infact both were taken in the same area and shows just how much the beach changed in the 6 years between the shots. I think that Dymchurch has become a lot more popular with tourists and there has been a lot of money spent on the seafront and facilities


I spray misted through some sequin waste and stamped various swirls and used a couple of sets of alpha stamps that I have had for absolutely ages and were gathering dust LOL.
One of the sheets is a mass of beautiful butterflies, so I cut several out and added some Stickles and tiny crystals. I also bent the wings up slightly.


With the left over sheets and scraps I made this 2nd layout. Oh my goodness, what an absolute hoot we had last year on a crafty weekend away. Each year I am lucky enough to go away with a group of lovely, lovely ladies for a crafting weekend and we try to find something funny to muck around with. Last year Alison took along these Face Mats.......oh my goodness what a laugh Ange and I had with them.....so I just HAD to scrap a couple of the pics


I used some more of the Ma Cherie papers and added a doily, more Stickles, some sequins and some tulle netting.


Ange, you definitely bring out the crazy in me LOL.....I wonder what laughs we will have this year?? Can't wait xx

Wednesday, 26 March 2014

Happy Birthday our beautiful girl xx
Well Monday saw our youngest girly Chloe, celebrate her 14th Birthday.....where DID that time go??? Anyway whilst I was on a fabulous crafting long weekend away with some super talented and lovely friends I made my little lady an 8" x 8" birthday card.....and I am glad to say she loves it :)


Lots of sparkles and glitter and bling..... a Hobby house topper in an adorable design...

......and blossoms and beautiful die cuts ( Thanks Linda)


Happy Birthday Gorgeous Girly....please PLEASE don't grow up too fast! Love you baby girl xxx