Showing posts with label chipboard. Show all posts

Thursday, 9 March 2017

Beautiful memories......Cherry Tree Lane by Kaisercraft.


Hi There,
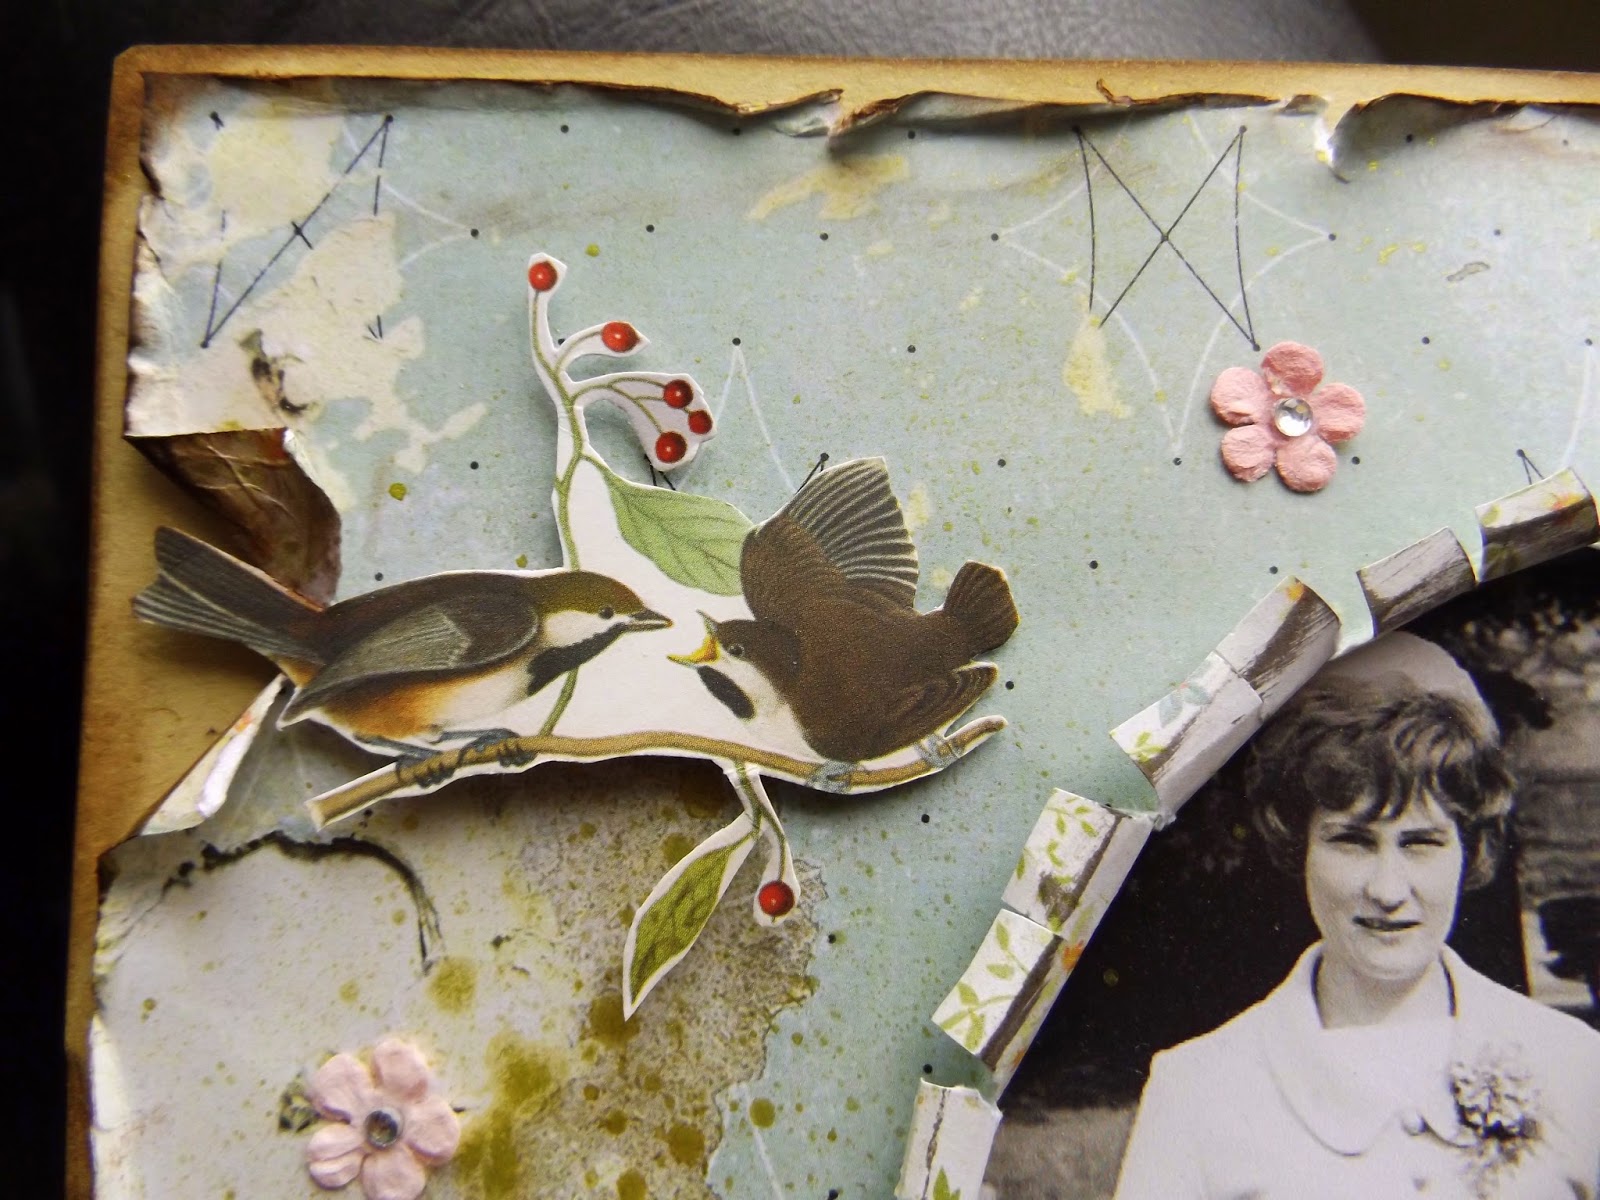
 I have made a layout this time with the rest of the Kaisercraft Cherry Tree Lane papers. Such beautiful, vintagey colours and patterns and a real pleasure to create with. I decided to use a wedding photo of my Dear Mum with her Daddy, from way back in 1966.


I based the entire layout on a sheet of Kraft cardstock and then laid a sheet of Quill over it, which I distressed the edges on. The photo was a little over a 5 x 7 and I decided to cut an oval aperture for it to sit in. I cut the oval a bit smaller than the photo and then snipped and rolled back several sections to create a curled frame.


 I used a script stencil and added some Texture paste..... unfortunately this just didn't work very well and was rather blobby in patches which is a great shame. But hey ho....never one to be beaten by a crafting product, I just got out some Cosmic Shimmer spray in Gold and sprayed and splattered across the page ( this made me feel a bit better!)

A length of cotton lace was fixed across the whole width of the layout and I then
 took the sheet of  Telegraph and a sheet of Correspondance and cut lots of elements out which I scattered in various place about the page.


By layering up the flowers and letters/ephemara etc it adds a little texture and depth but without adding bulk.


I fnished the page by adding some small pearly swirls, teeny blossoms and a lovely chipboard title (from my stash). I think the Cherry tree Lane collection is absolutely beautiful and you can find it HERE in the shop, along with lots of other Kaisercraft Collections

Anita xx

Sunday, 19 June 2016

...and so the Adventure Begins...'Blush' from Blue Fern Studios

Having had the enjoyment of playing with papers from the 'Serendipity' Range from Blue Fern Studios earlier on in the month, I have also been lucky enough to play with some of the 'Blush' papers too. I thought they were perfect for scrapping one of our wedding photo's, taken back in Sept, 1992.

  I always find it hard to photograph layouts to capture the true colours, sparkles and shimmers on the page and this is very true for this layout, such a shame. It started off as a shabby pink, but actually ended up in varying shimmering shades of copper, rose pink and stone white.


I used a sheet of Blush 'Celebration'
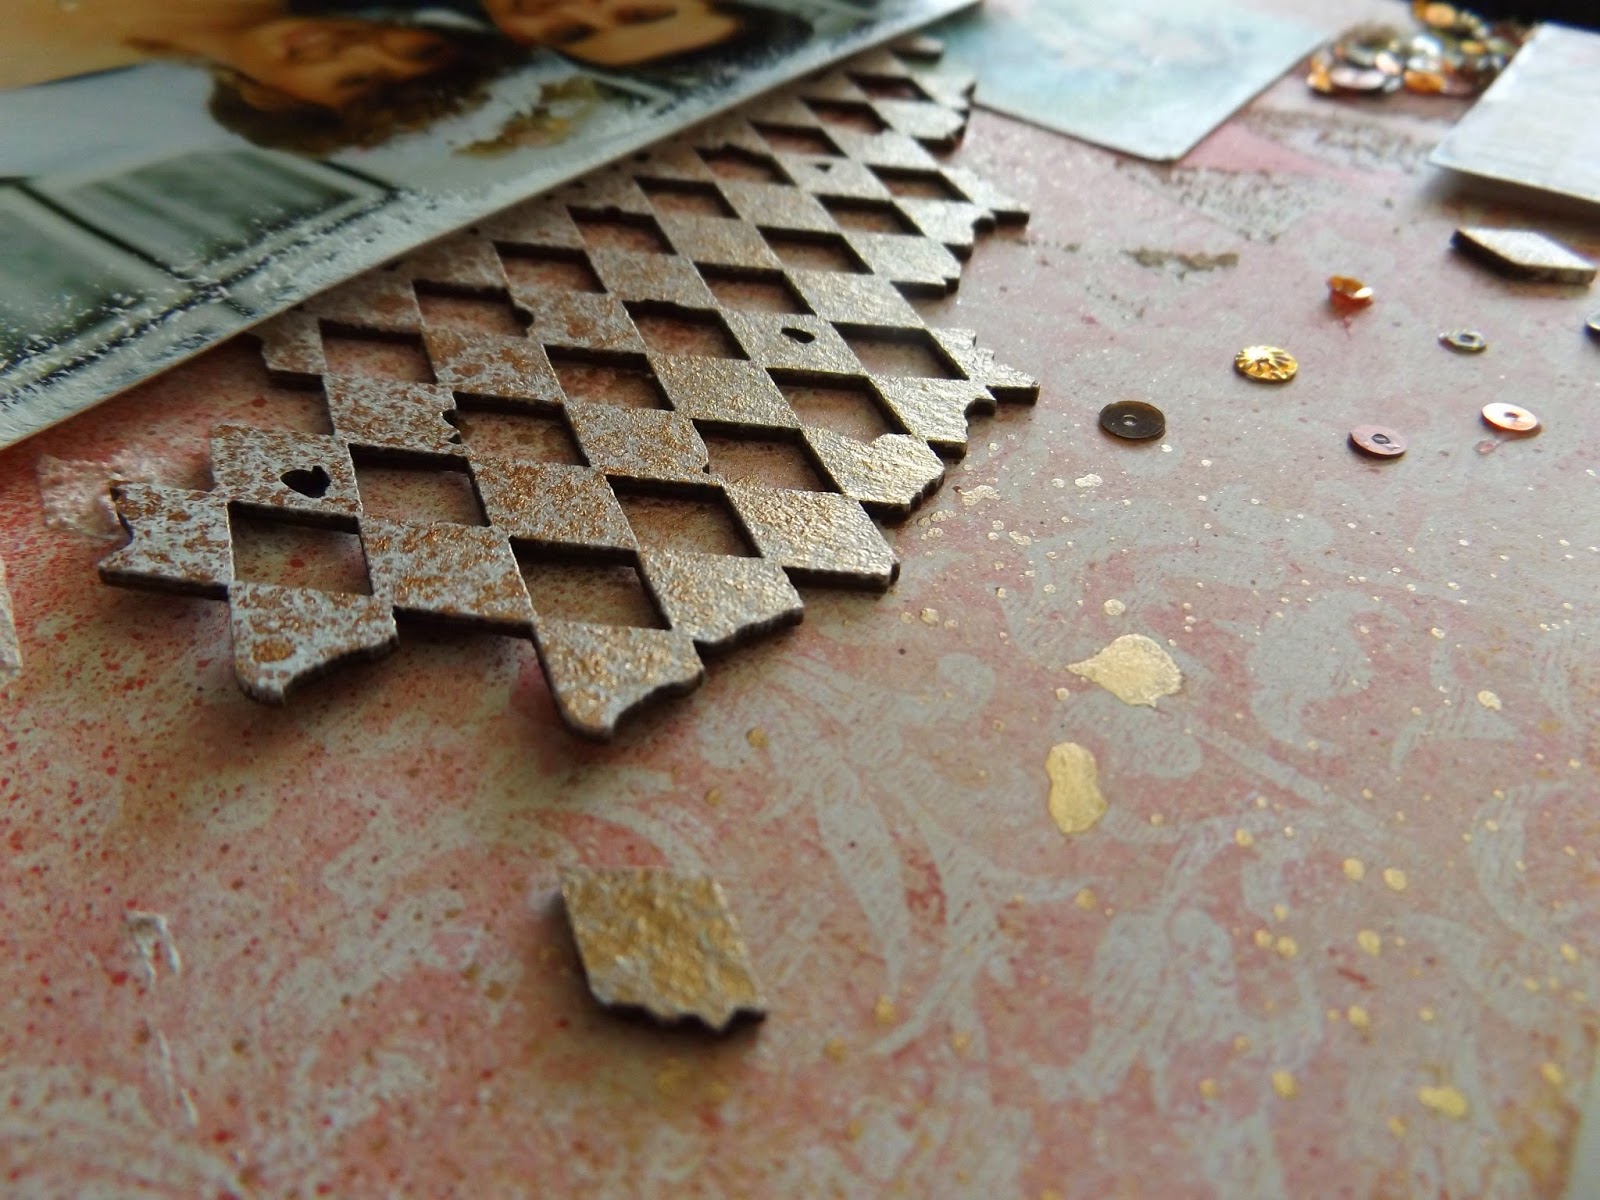
for the base of the layout and then I used a Harelquin mask and some texture paste to create the dimentional background.  I gave it a few squirts with some Rose spray and then a generous squirting of Copper Shimmer mist ( you can NEVER have too much shimmer and shine!!)
I had some harlequin chipboard to work with and I coated this with white acryic paint and lots of Copper shimmer mist, then scattered the peices about across the layout in various places. I wanted the photo to stand out, but without a mat to sit it on, so i sponged all round the edge with some more white paint just for some gentle definition.

I also had some black lace that I wanted to add, but it was way to harsh in black. So I sponged it with white paint and then added some Stickles.  I laid the lace just under the edge of the photo ( which I had raised up on foam pads for a little more dimension) I also added a couple of Prima Blossoms ( also gently sponged with white paint to tone the colours down a bit) And I made a couple of rolly roses and added a pearl in the centres. ( tutorial for roses here )


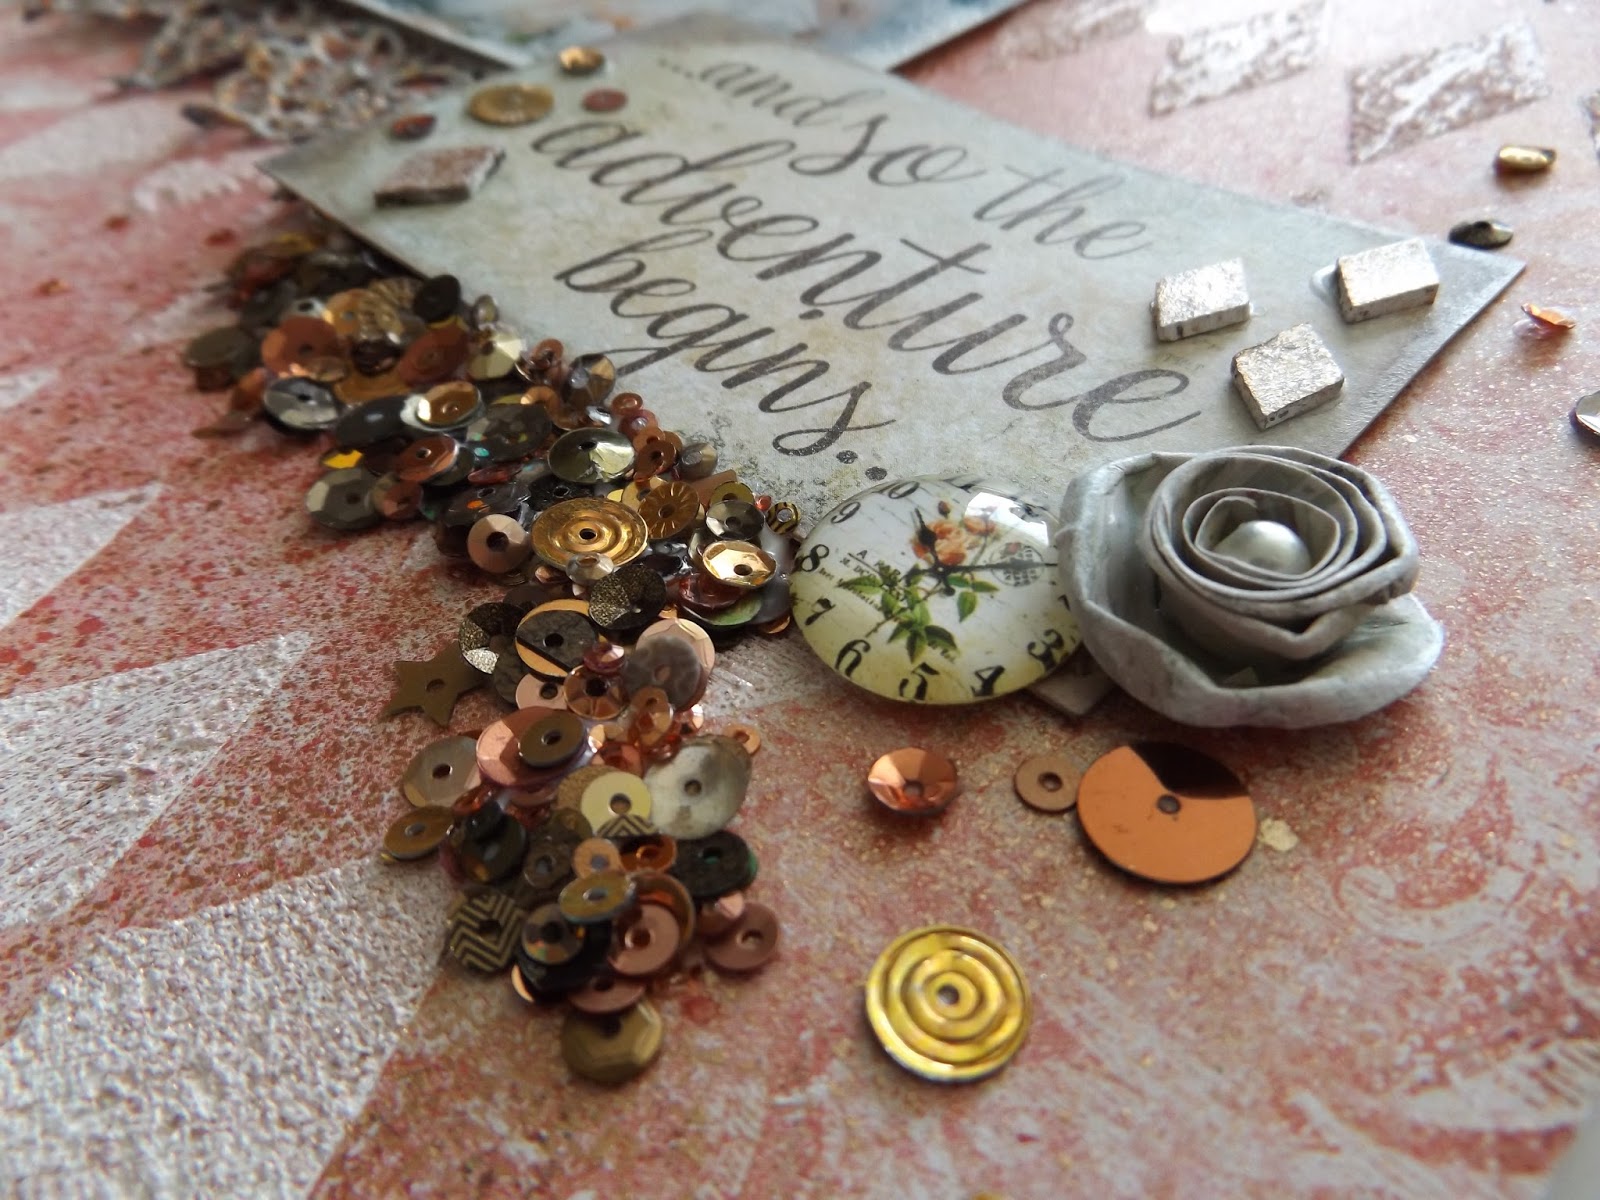
The sheet of Valentine Cards is covered with some lovely bits and peices, but I only cut out a couple of sections and added to the page. The bottom quote was taken from a sheet of Serendipity Calling Cards and I just popped on another rolly rose and a vintage cabouchon.


To finish the layout I just needed a bit more sparkle, but didn't know quite what.
I am really enjoying using sequins on my layouts at the moment. Normally I would just gently sprinkle a few around, but I went a bit wild! I started with just a few little odd sprinkles, but then decided I wanted some large clusters.....so i pooled some glue under the quote and built up a nice thick cluster of sequins in various golds, coppers and bronzes .... and then I thought I should stop!

I really have enjoyed creating with these Blue Fern Studios Papers and if you pop over to the shop you will find there are several designs available.
Thanks for looking, see you again soon.
Anita xx

Tuesday, 7 June 2016

Sea Breeze from Kaisercraft

Sea Breeze ......from Kaisercraft

Hi There,
Anita here, kicking June off over on the Papermaze blog with a layout I have made using some of the beautiful papers from the 'Sea Breeze' Collection from Kaisercraft....and they are in my favourite colourway too!!


Kaisercraft quality is absolutely superb and each of the papers in all collections are double sided. There are several collections available over at Papermaze
I scrapped this 7 x 5 family selfie, taken on a trip on the Thames at Windsor about 4 or 5 years ago, we certainly had a chuckle that day.
I based the page on a sheet of Bazill Aqua cardstock and a sheet of Sea Breeze Refresh 
I inked around the entire edge of each using a Dew Drop Brilliance Pad in Pearlescent Chocolate , this gave a lovely shimmering tint to it all. I cut a sheet of Sea Breeze Swirl into 4 strips approx 1" wide, inked the edges and then created a rustic frame for the photo, adding brads in the corners.

I love using chipboard, sometimes I leave it naked as it is, but more often than not I like to paint it, glitter it or foil it. I had a lovely Blue Fern Studios Flourish and this time I used Glimmer Glam in Expresso Bean and sprinkled some brown glitter onto whilst still wet. I also had some lovely wood effect sequins to play with....and these were sprinkled in various places across the page.


One of the sheets in the Sea Breeze collection, Lake , is covered on one side with some lovely black blossoms. I cut a few out, layering some up and also some leaves and arranged them down the side of the frame along with some mixed blue blossoms.

I finished the page off by adding a few elements from the Sea Breeze Collectables and some printed butterflies.
Thank you for looking.
Warmest Wishes
Anita xxx

Sunday, 22 May 2016

'Uniquely You'......... Serendipity by Blue Fern Studios


 I have been playing with some fabulous papers from Blue Fern Studios. This is the first time I have worked with these papers and I just cannot get over the wonderful quality of each sheet and the stunning designs on them, what a pleasure it's been ( I can see a new obsession brewing here!)

The photo's of our youngest were taken on a sports award night that she attended and was awarded Sportswoman of the Year. The photos were taken before the ceremony and so I will now also be having to scrap the photos of her with the awards too!


I started off with a sheet of Serendipity - Chronicle as the background and took a sheet of Serendipity - Imagination which I cut a random wavy edge around and also inked up the entire edge with a dark brown ink pad.
 On the right hand side I tore a line in towards the centre of the page and then rolled the edges back.  I chopped up the sheet of  Serendipity Calling Cards, chose the ones I wanted for this page and gently inked the edges. These were then used up for layering around the photos

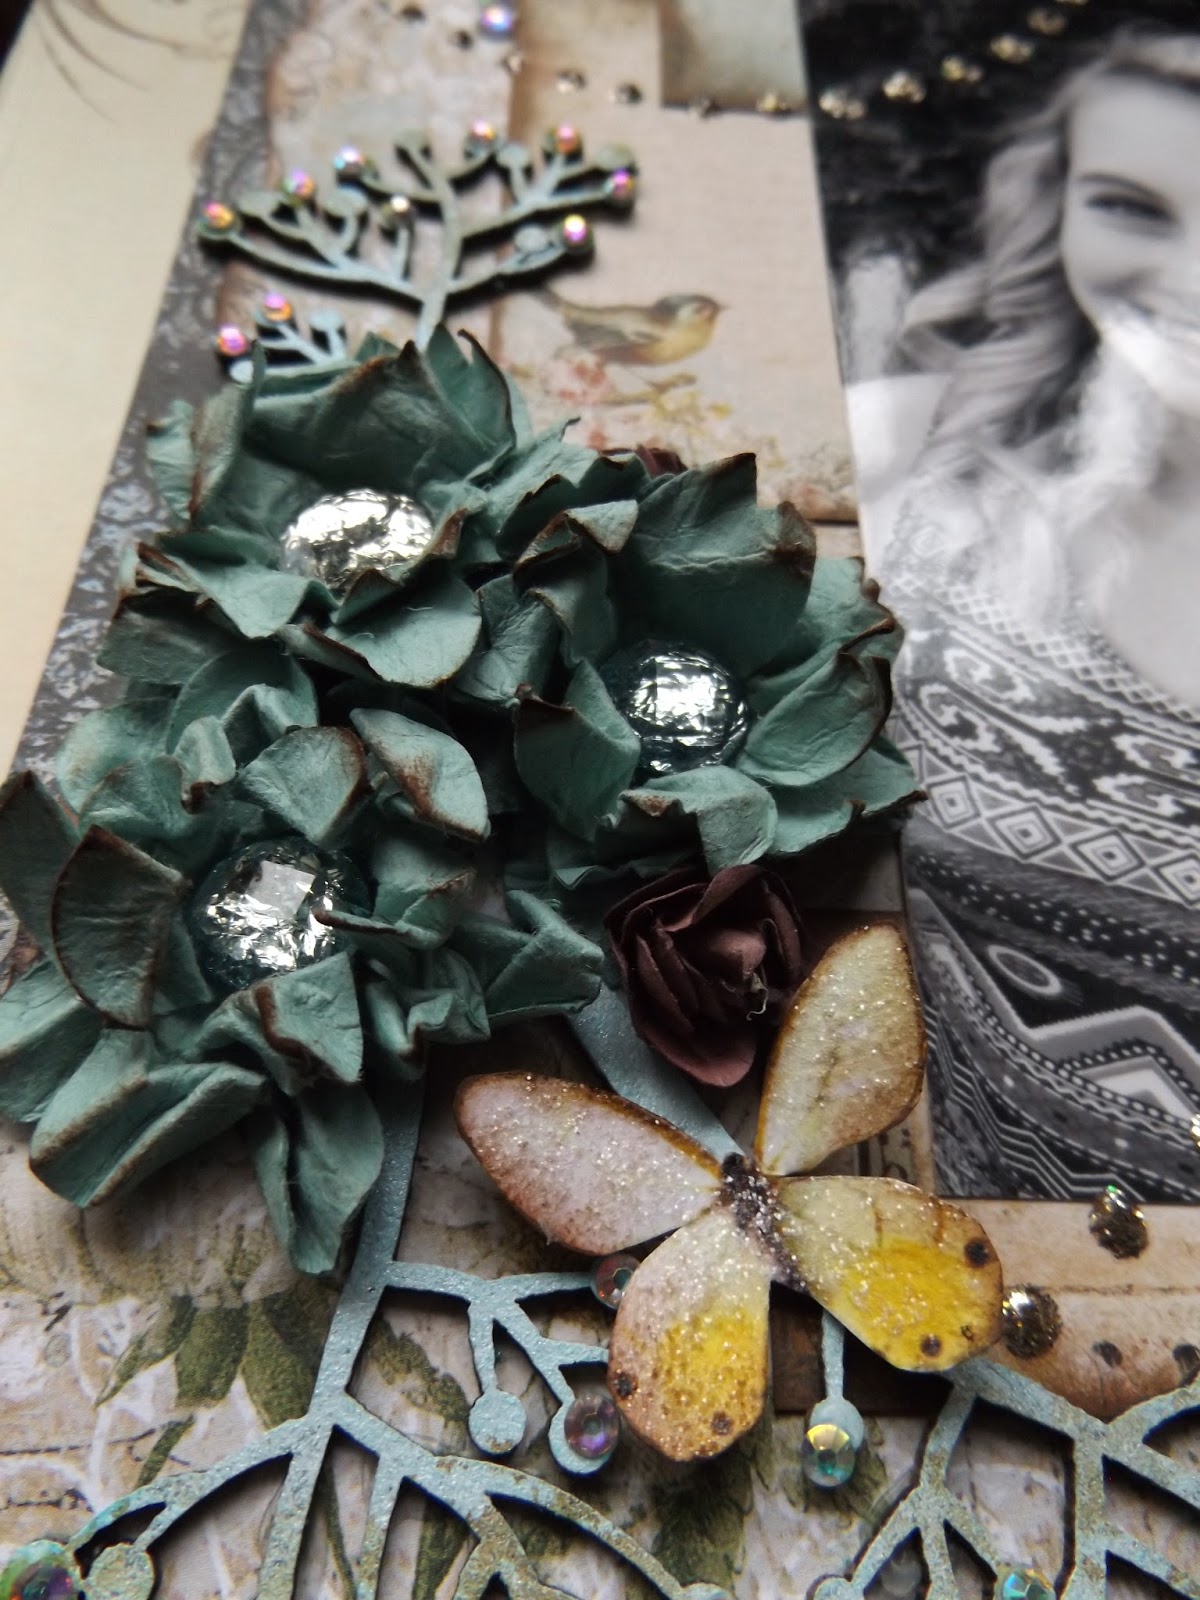
In my kit I had a sheet of Bazill Cardstock called Lagoon and because of the small tints of blue in the actual papers, I thought I would use the cardstock to create some flowers to adorn the page. I punched out several flowers, spray misted the die cuts with water and allowed them to soak in for a while, before then scrunching each one up and putting to one side to dry for using later.
Once they had dried out I layered them up and stuck a nice big flat backed gem in the centre ( I LOVE a bit of bling!)

I don't know about you but I really love using chipboard embellishments on my pages, they are so versatile and can be left plain as they come or can be inked, painted, glittered etc to dress them up. I took these Blue Fern Studio Berry Stems dabbed them with an Aqua Acrylic Dabber and then gently sponged some tiny patches with some gold acrylic paint. I also added some little crystal bling on some of the berries.
I quite often like to add butterflies to my pages, so I printed out some onto white card and then coated with Sprinkled Sugar Stickles. 
I also used a beautiful chipboard Romantic Page Dangle which I painted in brown and over dabbed with some gold acrylic paint. Using some jute twine I criss crossed stitched across the torn section on the right hand side of the page and layered the chipboard dangle over the top, adding crystals, a butterfly and also another handmade blossom.


 I finished the page off by adding a few crystals here and there and also using a bottle of Mercury Glass Stickles , I used various round items as a stencil and dotted the Stickles in blobs around them.

I enjoyed using these products so much and cannot wait to play with them some more, if you pop over to Papermaze you can see all the products I have used , especially the beautiful papers in the Blue Fern Studios ranges.

Thanks so much for looking at this post, I hope you have a super scrappy week.
Warmest wishes
Anita x

Wednesday, 18 May 2016

Loved Always .........

Hello....... a post I made a few weeks ago has just been up on the Papermaze blog using the lovely papers from Prima, Tales of You and Me range.
I have been wanting to scrap this photo of my wonderful parents and both of our lovely daughters for a long time. It was taken 4 and half years ago after having a lovely meal out to celebrate our eldest daughters 17th Birthday. Sadly we lost my Dad a few short months after this was taken. I am so grateful that being a scrapper means I probably have so many more photos of precious people than I would if I didn't do this wonderful hobby!
This layout, card and tag are all made using 1 whole sheet of paper and cardstock and then just the left overs from my previous layout and mirror which can be found HERE.

I randomly cut a wavy edge around the entire sheet of paper and gently inked it, placed it on the cardstock and also inked the edges of that too. I had a strip of leftover paper and popped that across the centre of the layout and sewed along the top and bottom edge using twine. I used a beautiful chipboard flourish from Dusty Attic, which I covered in Stickles 
I also added various blossoms, a couple of brads and also some Dew Drops sprinkled about.


I used the left over lace to frame the photograph and then decided I loved the colour of the Stickles so much that I would add sparkle to everything that didn't move!!! So the lace has raised dots, the blossoms have liberal splatterings and the bodies of the butterflies are Stickles too!


I was then left with literally just a few little scraps of paper, so not wanting to waste them I made a 6 x 6 card and also a little gift tag.   I couldn't put the Stickles away without using it again now could I??


I have really enjoyed using this range to create with, it's pretty and very versatile. Prima have recently released a few new collections and you can find them here at the shop.
Happy Scrapping....... Anita xx

Sunday, 3 November 2013

Scrapology November Challenge...lifting Michelle Logan

This month over at Scrapology we are lifting the work of the very talented Michelle Logan. I really enjoyed playing along, but I am not a fan of too much *white space* so used patterned paper and also added extras to it here and there to fill in the blanks lol. The photo is of our youngest, taken when she was aged 6 on a visit to the beautiful Michelham Priory down here in East Sussex.


The technique/challenge is to use Chipboard this month, along the the supllied sketch, so please feel free to pop over to Scrapology, where you can also see the fabulous work of my fellow teamies on the DT!....there is also, as always, a super prize up for grabs. So pull out your stash and get creating :). We look forward to seeing what you design xxx

Monday, 1 July 2013

M is for Mixed Media over at Scrapology

We are scraplifting our very own design team member LINDA this month by creating a page using many different mediums together on one layout.
 I REALLY enjoyed playing with this page and adding all the various layers of paint, mists, webbing spray etc

 We started off with a 12 x 12" peice of greyboard, which was painted with Gesso.


 I then used a harlequin mask and some Sparkle Medium in Turquoise ( thanks Linda)......
and then just went wild with Cosmic Shimmer Sprays, some sprayed, some dribbled....silver webbing spray, large chuck glitter flakes, sequins, crystals, blossoms, buttons and headed pins. I also added some denim and organza scraps.....gosh I DID enjoy all the mess and sparkle.....and discovered in the process of creating this peice....that a little really DOES go a long way.....a LONG LONG way....but it doesn;t matter does it....because everyone likes a bit of sparkle in their lives ;)


The photo is of my 2 gorgeous girls, taken in the springtime in 2011, at Abbots Wood, when we were out on a walk looking at the Bluebells.


  If you pop over to Scrapology you can see all the beautiful designs that the DT came up with, they truly are stunning.....and each so very different! We would LOVE to see you enter this months challenge....you have plenty of time to join in the fun and get messy/sparkly/inky/shimmery :D. Warmest wishes ANita xx

Wednesday, 13 February 2013

An old favourite of mine.

I thought I would share an old favourite of mine with you. I made this page just over 5 years ago and it still remains high in my list of faves.I used various bit and peices of papers on it, some odd bits of organza ribbon,  stickers, a jewelled button,fluffy fibres, blossoms, brads, chipboard letters and number....and ooooodles and oodles of GLITTER!!!


The large chipboard letters were covered in Glossy Accents in small sections at a time and then dipped into glitter, I squeezed some shapes with the GA for added effect. When it had all dried I then poured a thick layer of GA over the top, this not only sealed in the glitter and stops it migrating across the page protector in my album,but it also gives the letters a gorgeous thick gloss
I really love this photo of Chloe, taken on her 7th birthday....doesn't she look cheeky! Jeeez where HAS the time gone???

Tuesday, 29 January 2013

Baby Girl.....

 A layout of my gorgeous youngest niece, Maddie, I took the photo when she was just 10 days old.
I  loved these gentle papers from Prima and thought they would work well for this page. (Unfortunately the light wasn;t at all good when I took this pic, so I may retake it and upload a better one hopefully)
 All I had to do was a little fussy cutting and plop on some crystals, blossoms and Stickles!


To make the title I took some plain chipboard letters, coated in Glossy Accents, I then poured glass seed beads all over, when dry I sealed over the top again with more Glossy Accents. When that was all dry I rubbed a little Crystal Stickles over...and it really glistens in the light.


I am sure lots of you have some seed beads languishing in the bottom of a drawer or craft box somewhere....why not get them out and glue them down :). chipboard swirls can look absolutely scrumptious treated the same way.


Thanks for looking xxxx