Showing posts with label sequins. Show all posts

Thursday, 5 July 2018

Beach Boys ...... G45 Sunkissed part II

Hello again, it's Anita here today.
I hope you have had a fabulous week and have enjoyed the amazing summer sunshine we are all being treated to at the moment. Its really inspired me to scrap some summer fun photos of 2 of my nephews enjoying themselves on the beach last summer.
Once again I am using the stunning Sun Kissed Collection from Graphic45, such vibrant summer colours and great designs.


This has also given me the chance to have my first ever play with Distress Oxide inks and Gesso.... and I have to say I loved it. I can see lot more inky times coming up!
So, to start with I used a sheet of Cream cardstock and gave it a good coating of Gesso, once dry I set about playing with the Oxide ink Pads. I used Spiced Marmalade and Peacock Feathers...and I applied them using the Smooshing technique
I also added a couple of squirts of Distress Stain spray in Blueprint Sketch.
 The page itself was based on a sheet of Floating Floral, I used the reverse side and then added a wide strip of the cardstock that I had inked and sprayed up. I used bit and pieces of the following sheets to decorate the rest of the page by cutting out turtles, shells, words and thin strips.
Sunkissed ,
Turtle Time ,
 Kids at play
Splish Splash


I also used some hessian sacking as a photo mat for some added texture  and layered fussy cut shells, starfish and turtles around the photos.


To finish off the page I added huge clusters of sequins and scattered a few single ones about around the edges of the layout. And I also used some Jillibean soup teeny alpha stickers, in Navy Blueberry to add a few details.


I have thoroughly enjoyed working with this beautiful collection of papers and its also made a really nice change to scrap boys for a change.
For an excellent selection of Graphic45 papers and all your other crafting needs, just pop along to the shop...you will be glad you did!

Warmest wishes
Anita xx

Saturday, 7 April 2018

Now she is 18!

Hi There,

 I have been creating with the dazzling new Amelia Rose Collection from Prima. Once again they have released another stunning range of papers and co-ordinating goodies. There are beautiful vintage papers, floral mixes and the luxurious swathes and detailing of foiled copper and rose gold accent.....truly gorgeous!

Our youngest daughter has just turned 18 in the last couple of weeks and some of her balloon banners were a coppery rose gold in colour and I thought these papers would be great for popping her onto!


I de-saturated most of the photo back to black and white, leaving only the copper and browns still showing before printing it out. The Lovely Scribbles sheet is gorgeous and heavily foiled, so I chose to just use part of this and placed it as a backing to create a thin frame around the page ( I gutted the centre out first to save for another page)
I took the sheet of Texture Lover, cut it down slightly and used a Black Soot Distress Stain to just swipe around the edges....and also added a few splats here and there. The page is already beautifully detailed with some vintagey paint effects, distressing and some lovely foiled scriptwork.
In my DT kit along with the gorgeous papers and cardstock I also had some lovely antique looking book plates. I used one of these and popped in the number 18, taken from my own stash of alphabets.


I also took a sheet of Dark Florals and Ticket Collector (both foiled) and cut out various sections of flowers, scrolls, foliage and tickets, these were then scattered around the photo to create a semi frame (some were raised on foam pads for dimesion) and I also slipped a small black doily slightly behind the photo too.


Using some Stickles in Rose I gently highlighted some of the black ink splats to co-ordinate with the pink blossoms in the paper sheet and also added more letters to say Chloe from the same pack as the number 18.


Some black blossoms were also in my kit and I glammed these up with some Copper Stickles.


In various places around the outer edge of the layout I tore little sections and turned them back slightly, leaving a tiny blossom on the edges.


I finished off the page with sprinklings of copper and rose gold sequins in various shapes and sizes and also a cherub button, which I removed the shank from the back.


If you pop over to the shop you will find lots and lots of wonderful goodies....including the latest new 5 releases from Prima
Amelia Rose
Lavendar
Cherry Blossom
Love Story
Vintage Floral

Right, thats it from me for now ....I will be back later in the month again with another project with Amelia Rose

Happy Scrapping
Anita xx

Tuesday, 14 November 2017

Very Merry ......with Simple Stories.

Hello There, I am over on the Papermaze DT blog with my first posting for November.
I have used some papers from the Very Merry collection by Simple Stories this time and teamed them up with a photo taken in the lead up to Christmas 2016. (apologies for the poor quality of the photos, the lighting has been dreadful with such dreary and drab weather)
I had just got the Snapchat App on my phone and had great fun playing with the various filters on there that add some really cute and often funny features to your faces ( not to mention some random ones that are just downright bizarre!!!).
We were heading on a family trip out to do some Christmas shopping, but our youngest Daughter was busy elsewhere, so we sent her a Snapchat message of my eldest Daughter and I.


As with all collections from Simple Stories, there are various double sided sheets. Some are purely patterned each side but there are also some sheets of Journalling elements plus Vertical and Horizontal Elements and of course the various sticker sheets and Snap Cards.

I based the layout on a sheet of  Seasons Greetings
I also cut a couple of Vertical Elements out, one of which I used as a photo mat.


I then cut various flower and leaf clusters out from a sheet of Peace on Earth 
and placed them around the page in various places. I cut up a few random
rectangles and stacked them to look like presents and tied them up with some red organza ribbon.


Various papers blooms, glittered Ivy leaves, Sequins and MDF laser cut shapes were added just to finish off the page.

 I have several other Snapchat photos that I have had printed and I am looking forward to scrapping with those too!
 I will have to have a look and see what other Simple Stories Collections will work well with them.....there are so many various sets available at the SHOP covering all different themes that I am sure finding something suitable will not be a problem.

Hope you have had lots of scrappy fun so far this month and I look forward to catching up with you later in November,

Warmest Wishes
Anita xx


Tuesday, 13 June 2017

Surround yourself with those that make you happy xx


It's not often I get totally bowled over by a paper collection...however this release from Kaisercraft has most certainly done the job! It's called Indigo Skies, is truly beautiful and combines stunning butterflies, soft denim, white washed woods, marbled stormy hues amongst other things. This collection is perfect for scrapping the girls...or the boys! And I couldn't wait to get playing!


I used a sheet of blue cardstock for the back frame of the layout, then trimmed a couple of thin strips off a sheet of white cardstock. I spritzed a little misting of Dylusions Ink Spray in London Blue and drew lightly in pencil round a tea plate to give me the outline of a circle to follow to create my wreath on the page.

I had chosen our Christmas Day 2016  Family Selfie to use on the layout and printed it in black and white as I felt this sat better amongst the blue tones and on the white ( I plan using the same pic in colour on some Christmas papers at some point)


Next it was time to cut out lots of bits and pieces to create the wreath.
So I chose 3 sheets of the papers to use. The butterflies are on the Chambray sheet and compliment the flowers on the Misty sheet perfectly. I also cut up some sayings from the Blue Moon sheet too. I stuck the various items down following the pencil outline as a guide, overlapping some areas and folding the wings back on the butterflies to give dimension.
I also popped on some sequins ( one of my favourite embellishments at the moment!)


I chose a wooden title saying Family that I found in my stash which I was going to paint, but I wanted a really deep sheen finish and decided to use some Gilding Flakes instead in Silver, this gave a really pretty finish. Some little flat backed crystals on the butterfly bodies finished the layout off perfectly without over doing the glitz!
Gosh, have I mentioned just HOW much I love this collection!!!


As I had cut out a few extra bits and pieces and had some left over I thought I would throw together a 2nd layout super quickly....so out came the spray inks again.....


I absolutely LOVE these butterflies.....so pretty!


And that Chambray paper.....well it just looks like someone has torn a pair of jeans up.
I LOVE it!

Do yourself a favour and pop some of these beauties in your basket when you are next in the shop or online, they are just so lovely to scrap with.
Later on this month i will be back with some cards I have made using the same collection.
Til then, Happy Scrapping!!

Warmest wishes
Anita xx


Saturday, 25 June 2016

Photo Bunting and a simple Layout using Sea Breeze from Kaisercraft

Hi There....
I decided I would try my hand at making some photo bunting and as these papers from the Kaiserdraft Sea Breeze are in my fave colours I just knew I had found the perfect ones to use and combined them with some family photo's.


I made a heart shaped template and then cut out 11 heart shapes on nice sturdy chipboard. I covered 6 with some of my favourite black and white photos, I then sponged around the edges with some white acrylic paint and the remaining 5 hearts were covered in scraps of paper including Refresh Splash and Swirl


I then added paper blossoms, sequins and butterflies that were given some *bling* using some Mercury Glass Stickles Each heart had 2 holes punched into them and I threaded them all up with some garden twine. I am really pleased with the final product and see a few more in the pipeline in different colours. I think they would be wonderful for a wedding decoration, using photo's of both the bride and groom, maybe as they grew up and decorated in the wedding colours or for a special anniversary.....or imagine for a child's first birthday with some of their 1st year milestones....the list could be endless


I also made a very quick, simple layout. I based it on a sheet of Sea . I stuck a 5" wide band of  Refresh down the centre with a thin scalloped band of  Waterlily down each side.
I misted various patches with some Turquoise spray and added a sprinkling of turq and silver sequins and a selection of die cuts from the matching Collectables range.


I don't know about you, but I LOVE using my sewing machine to stitch sections on layouts if I get the chance. However......there is a brand new range of gorgeous stamps in the shop by a new manufacturer called 49 and Market
And in the range is a gorgeous set called Gabi's Line Stitch .....I fell in love with these and they sell out so quickly everywhere that I have seen them.....so I managed to grab a set.....and they ARE AWESOME!!! I used them around the edges of my layout....and I can see they will be appearing in LOTS of places from now on. ;)


Have you played with Sea Breeze yet?  If so, it would be lovely to see what you have created with it.
Happy Scrapping.
Anita xx

Sunday, 19 June 2016

...and so the Adventure Begins...'Blush' from Blue Fern Studios

Having had the enjoyment of playing with papers from the 'Serendipity' Range from Blue Fern Studios earlier on in the month, I have also been lucky enough to play with some of the 'Blush' papers too. I thought they were perfect for scrapping one of our wedding photo's, taken back in Sept, 1992.

  I always find it hard to photograph layouts to capture the true colours, sparkles and shimmers on the page and this is very true for this layout, such a shame. It started off as a shabby pink, but actually ended up in varying shimmering shades of copper, rose pink and stone white.


I used a sheet of Blush 'Celebration'
for the base of the layout and then I used a Harelquin mask and some texture paste to create the dimentional background.  I gave it a few squirts with some Rose spray and then a generous squirting of Copper Shimmer mist ( you can NEVER have too much shimmer and shine!!)
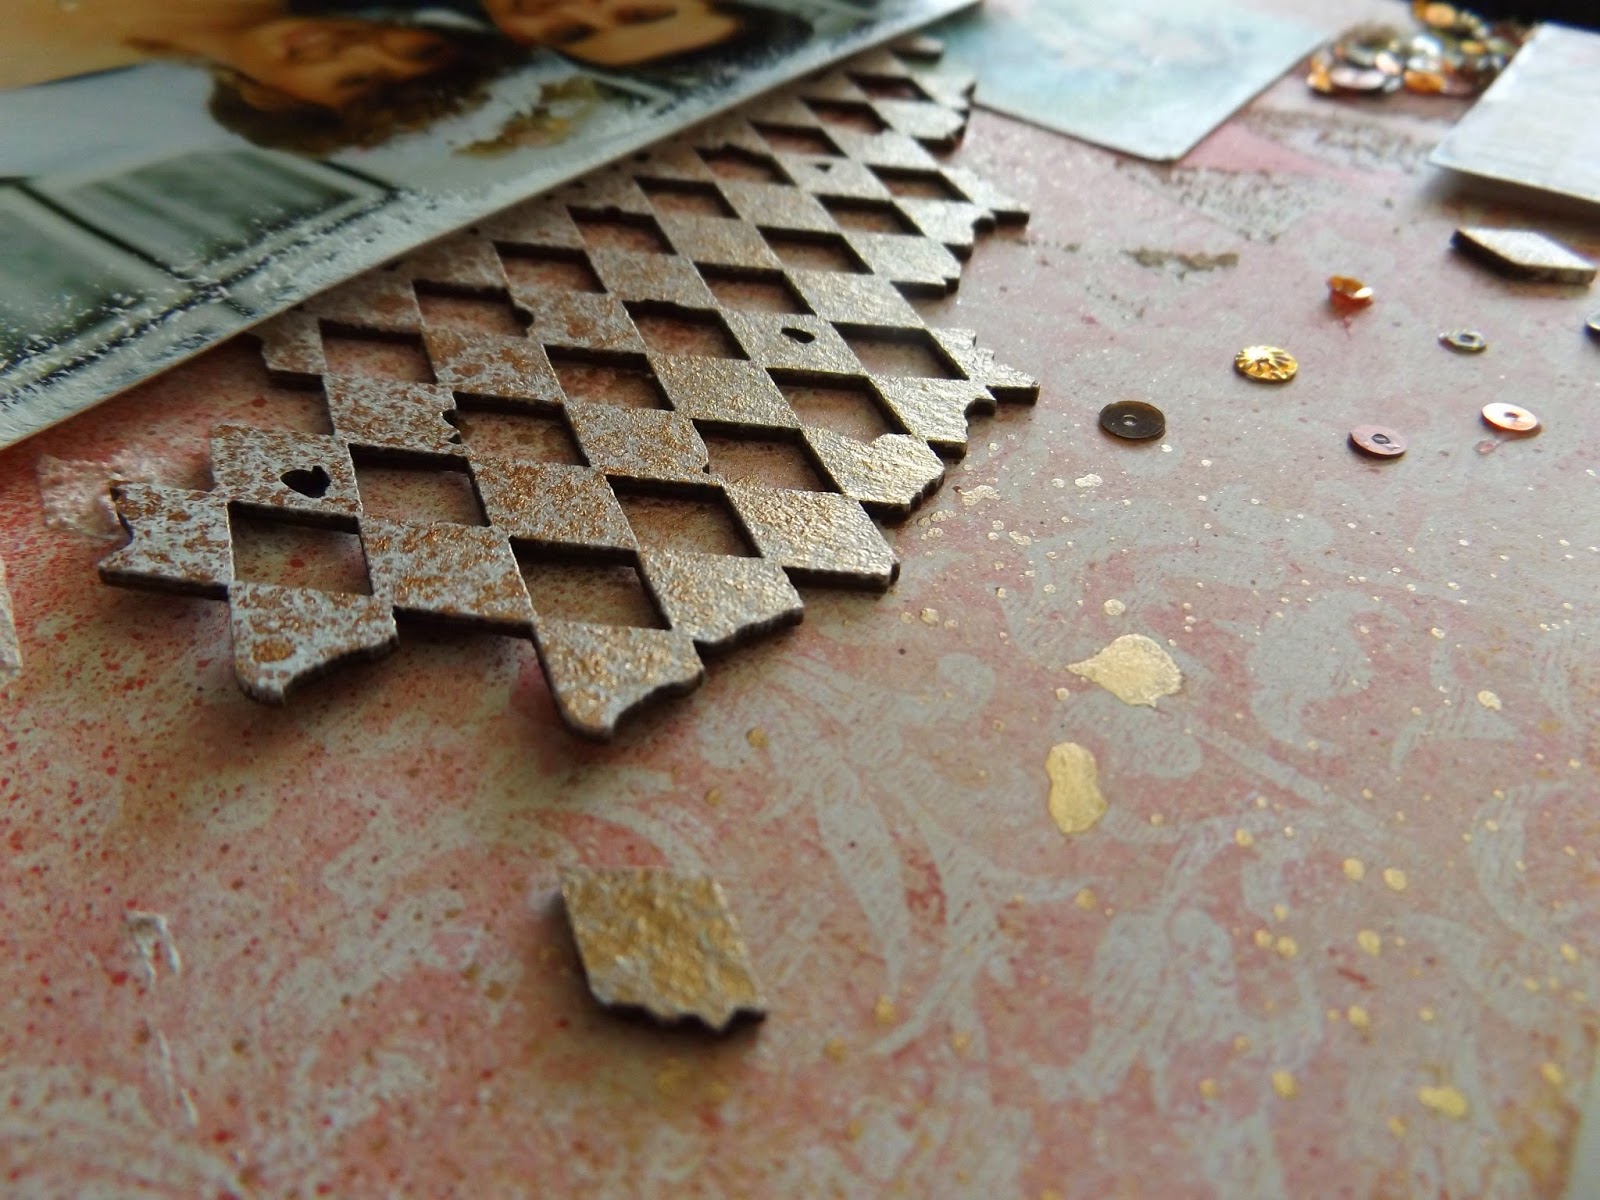
I had some harlequin chipboard to work with and I coated this with white acryic paint and lots of Copper shimmer mist, then scattered the peices about across the layout in various places. I wanted the photo to stand out, but without a mat to sit it on, so i sponged all round the edge with some more white paint just for some gentle definition.

I also had some black lace that I wanted to add, but it was way to harsh in black. So I sponged it with white paint and then added some Stickles.  I laid the lace just under the edge of the photo ( which I had raised up on foam pads for a little more dimension) I also added a couple of Prima Blossoms ( also gently sponged with white paint to tone the colours down a bit) And I made a couple of rolly roses and added a pearl in the centres. ( tutorial for roses here )


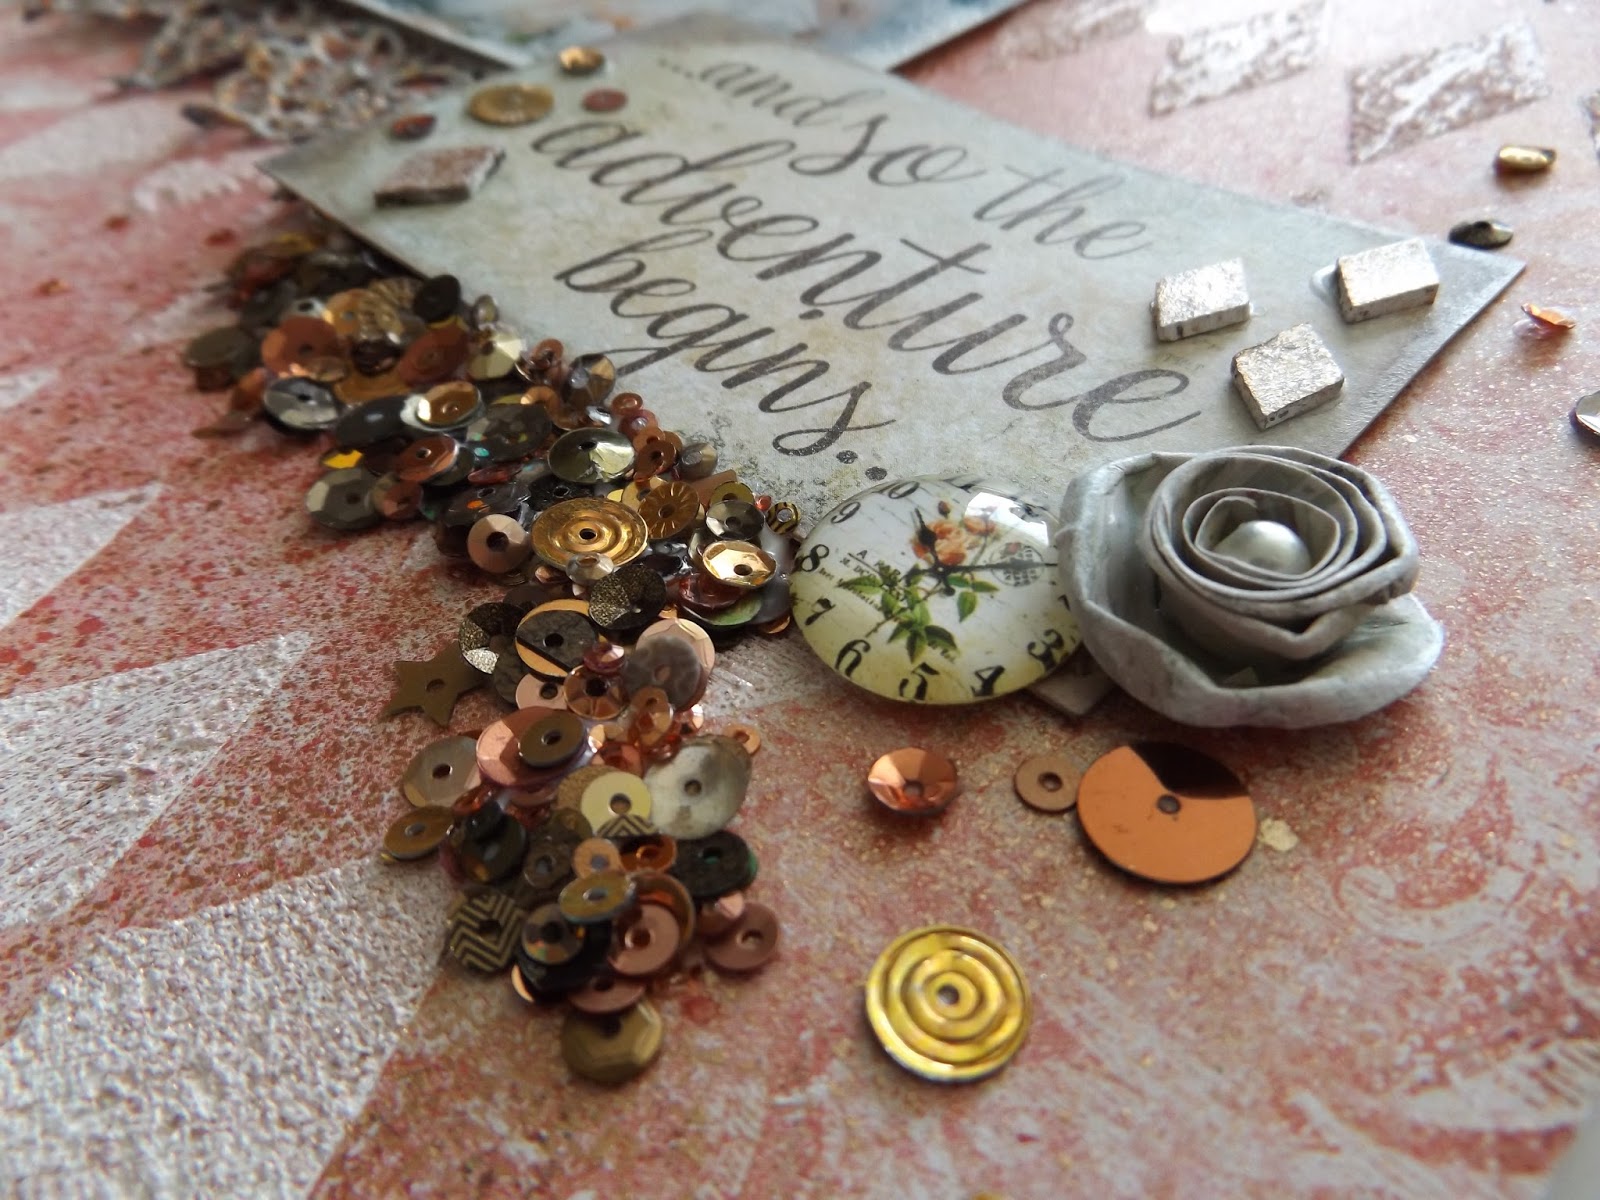
The sheet of Valentine Cards is covered with some lovely bits and peices, but I only cut out a couple of sections and added to the page. The bottom quote was taken from a sheet of Serendipity Calling Cards and I just popped on another rolly rose and a vintage cabouchon.


To finish the layout I just needed a bit more sparkle, but didn't know quite what.
I am really enjoying using sequins on my layouts at the moment. Normally I would just gently sprinkle a few around, but I went a bit wild! I started with just a few little odd sprinkles, but then decided I wanted some large clusters.....so i pooled some glue under the quote and built up a nice thick cluster of sequins in various golds, coppers and bronzes .... and then I thought I should stop!

I really have enjoyed creating with these Blue Fern Studios Papers and if you pop over to the shop you will find there are several designs available.
Thanks for looking, see you again soon.
Anita xx

Tuesday, 7 June 2016

Sea Breeze from Kaisercraft

Sea Breeze ......from Kaisercraft

Hi There,
Anita here, kicking June off over on the Papermaze blog with a layout I have made using some of the beautiful papers from the 'Sea Breeze' Collection from Kaisercraft....and they are in my favourite colourway too!!


Kaisercraft quality is absolutely superb and each of the papers in all collections are double sided. There are several collections available over at Papermaze
I scrapped this 7 x 5 family selfie, taken on a trip on the Thames at Windsor about 4 or 5 years ago, we certainly had a chuckle that day.
I based the page on a sheet of Bazill Aqua cardstock and a sheet of Sea Breeze Refresh 
I inked around the entire edge of each using a Dew Drop Brilliance Pad in Pearlescent Chocolate , this gave a lovely shimmering tint to it all. I cut a sheet of Sea Breeze Swirl into 4 strips approx 1" wide, inked the edges and then created a rustic frame for the photo, adding brads in the corners.

I love using chipboard, sometimes I leave it naked as it is, but more often than not I like to paint it, glitter it or foil it. I had a lovely Blue Fern Studios Flourish and this time I used Glimmer Glam in Expresso Bean and sprinkled some brown glitter onto whilst still wet. I also had some lovely wood effect sequins to play with....and these were sprinkled in various places across the page.


One of the sheets in the Sea Breeze collection, Lake , is covered on one side with some lovely black blossoms. I cut a few out, layering some up and also some leaves and arranged them down the side of the frame along with some mixed blue blossoms.

I finished the page off by adding a few elements from the Sea Breeze Collectables and some printed butterflies.
Thank you for looking.
Warmest Wishes
Anita xxx

Tuesday, 23 February 2016

How Time Flies........

Hello There
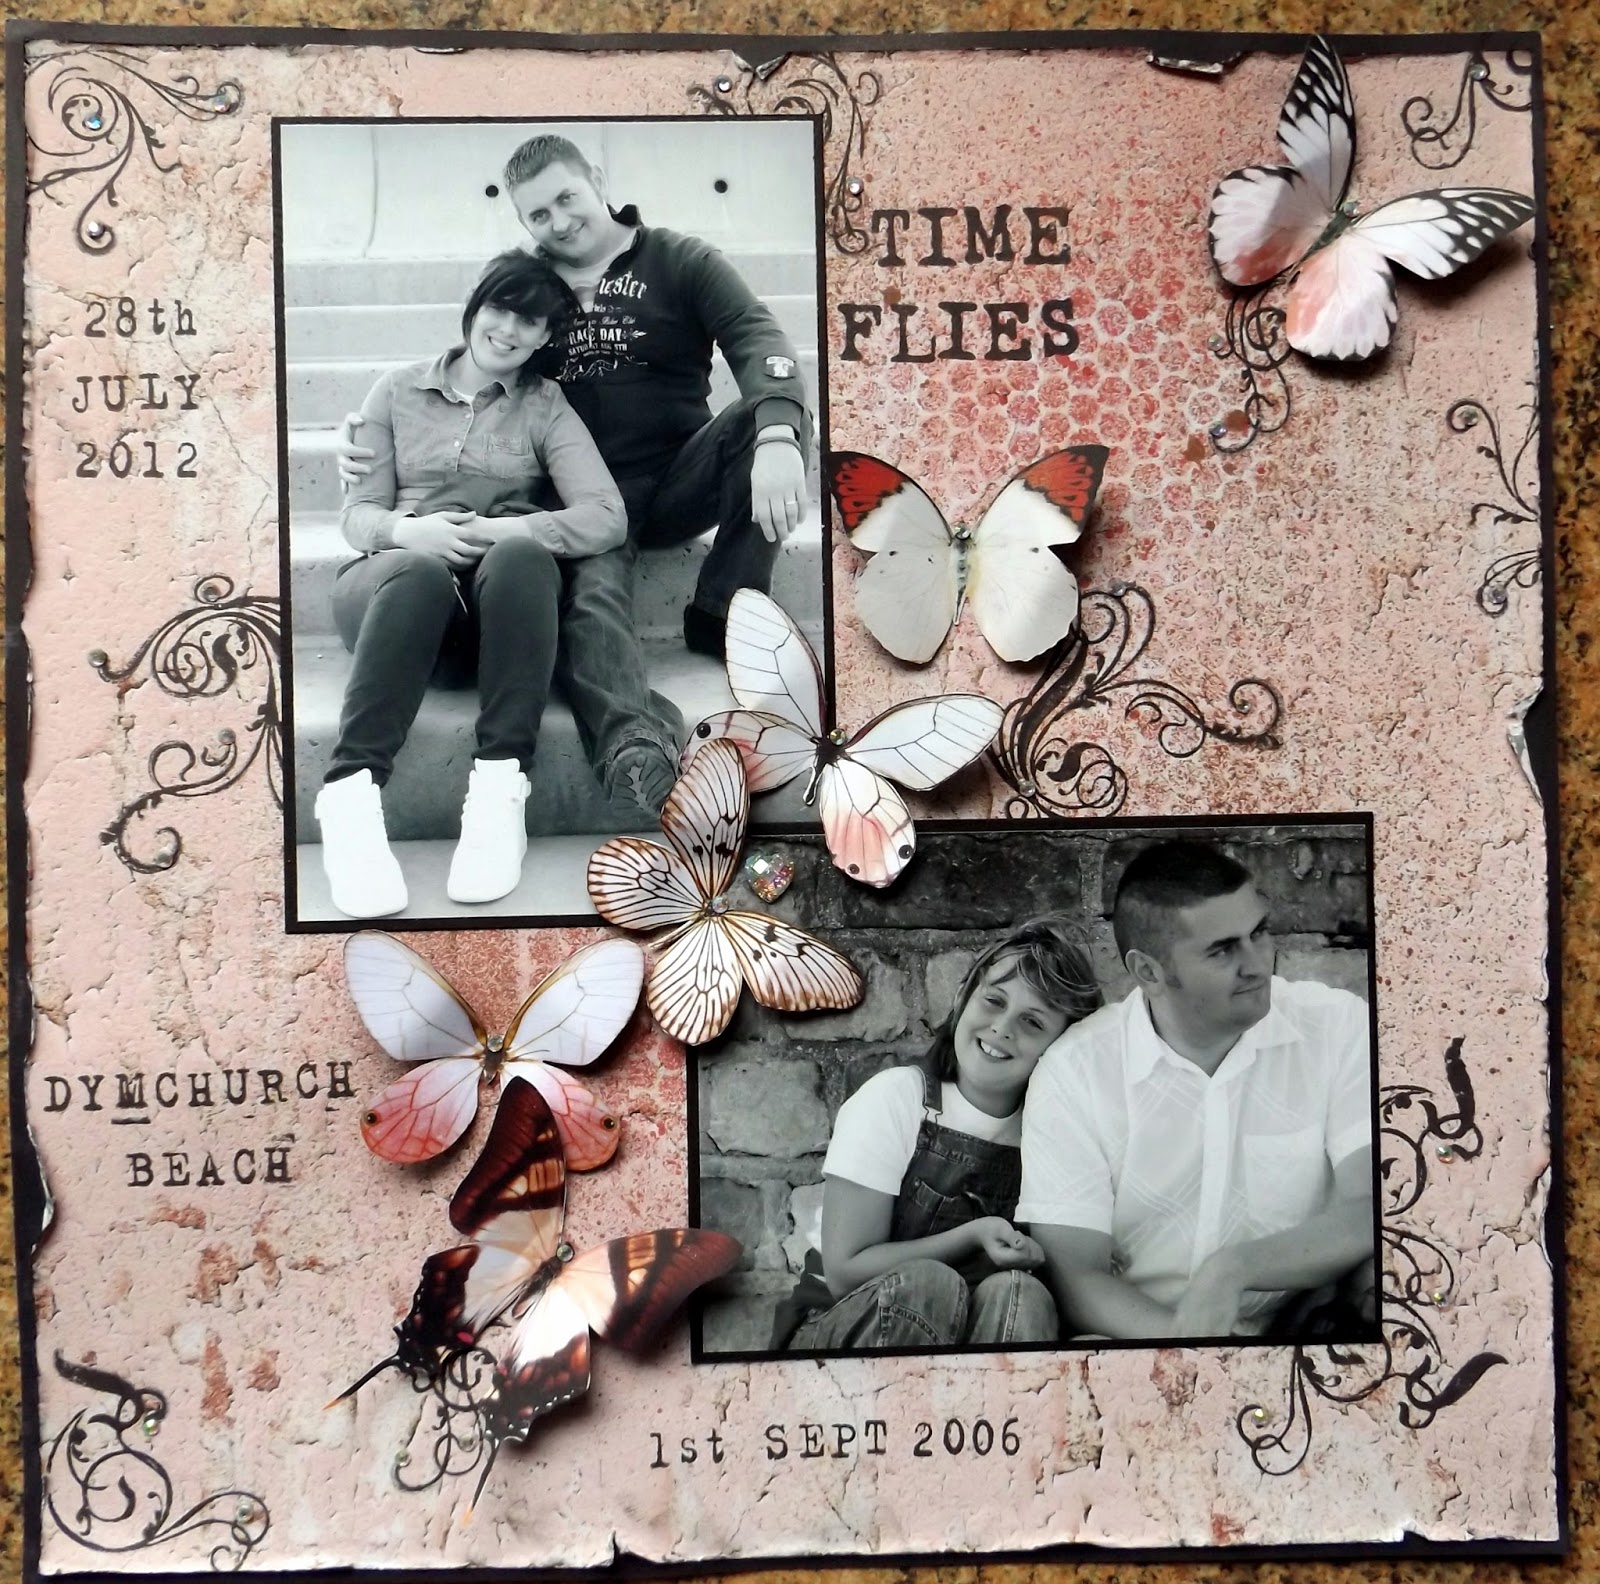
I thought I would share a couple of layouts I have recently made using some gorgeous Kaisercraft papers from the Ma Cherie collection I have wanted to scrap these 2 photos of Dale and Lauren for some time. They were taken on 2 holidays, when we went on a day trip to Dymchurch and spent some time on the beach....infact both were taken in the same area and shows just how much the beach changed in the 6 years between the shots. I think that Dymchurch has become a lot more popular with tourists and there has been a lot of money spent on the seafront and facilities


I spray misted through some sequin waste and stamped various swirls and used a couple of sets of alpha stamps that I have had for absolutely ages and were gathering dust LOL.
One of the sheets is a mass of beautiful butterflies, so I cut several out and added some Stickles and tiny crystals. I also bent the wings up slightly.


With the left over sheets and scraps I made this 2nd layout. Oh my goodness, what an absolute hoot we had last year on a crafty weekend away. Each year I am lucky enough to go away with a group of lovely, lovely ladies for a crafting weekend and we try to find something funny to muck around with. Last year Alison took along these Face Mats.......oh my goodness what a laugh Ange and I had with them.....so I just HAD to scrap a couple of the pics


I used some more of the Ma Cherie papers and added a doily, more Stickles, some sequins and some tulle netting.


Ange, you definitely bring out the crazy in me LOL.....I wonder what laughs we will have this year?? Can't wait xx